Arrangement
Now that we are pretty confident with our 8-bar loop, it’s time to turn it into several minutes (4-6min).
General speaking, there are two types of arrangements:
- Linear Arrangement, where a music idea starts small, opens up gradually to become a high-energy version of itself and then, after the big climax, gradually simplifies again. This style is often used in dance music.
- Arrangement with sections, which has many musical ideas for different sections, like for instance a verse and chorus. This style is typically used in pop or rock music.
We’re going to go through these arrangement types using Subtractive Arrangement, this just means that we start with identical copies of our loop, and then remove elements to create a slow “revealing” of our 8-bar loop. We’re introducing and removing elements from the track in multiples of four bars, as this is just what the listener has come to expect.
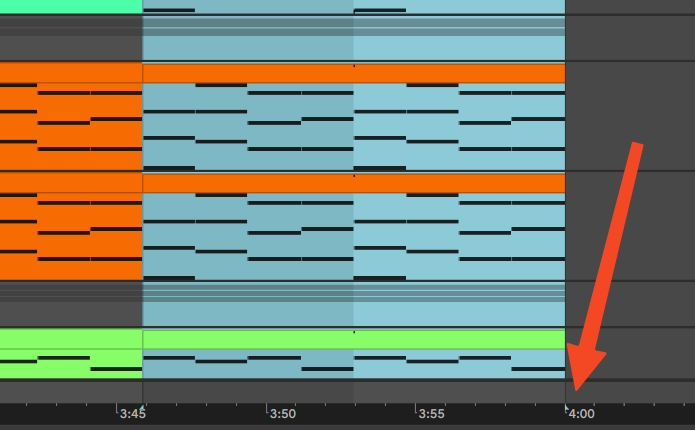
Select the entire “Referencing Master” Group and duplicate it using CMD + SHIFT + D until we have around 4 min:
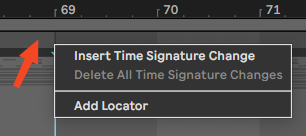
Now let’s organize our track a bit by adding locators for the climaxes by right-clicking up top and selecting “Add Locator”:
Usually the big climax is around the middle, and then you have some smaller ones before and after:
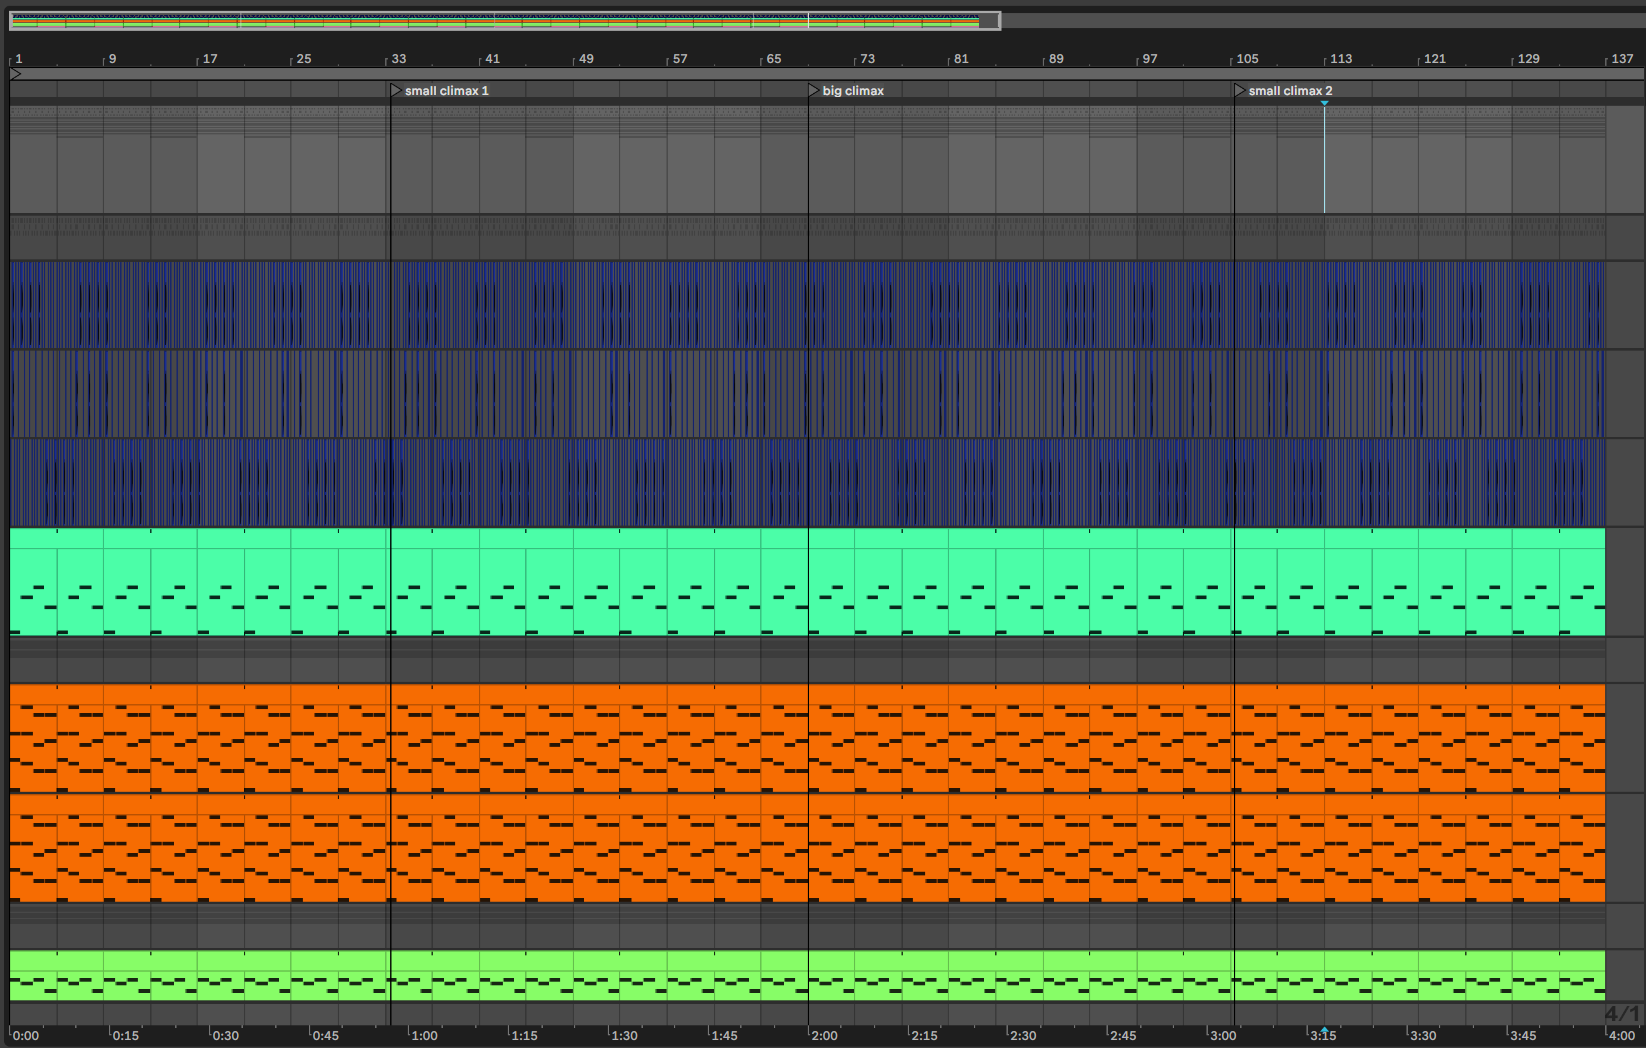
Now the idea is to remove as much as possible in the beginning without it sounding bad, then slowly introducing more and more towards the climax and finally trailing off towards the end. Here, you really need to trust your gut to tell you what feels right.
NOTE
The beginning of a track is a tight walk, on the one hand you have to introduce enough elements to intrigue the listener and make them giving your track a shot. On the other hand, you also don’t want to overwhelm them by introducing too much too quickly.
When in doubt use LESS, this is because you, the composer, have probably listened to it so many times that it just sounds boring now.
TIP
When we arrive at the climaxes, we start thinking particularly about building in contrast to maximize the tension and release.
The tools we have available to accomplish this are:
- Removing or adding elements all together. E.g.:
- Starting with only the backup leads, then introducing the pad sounds and finally the drums with the main lead
- Removing bass elements right before a climax and then, at the climax, reintroduce them
- Removing for example the clap, from your drums for a couple of bars to add a bit of variety
- Filling up the mid frequencies before a climax, so you can take it away afterwards and start “clear” again
- Automation and Audio Effects. E.g.:
- Fading an element by automating the Frequency of an Auto Filter
- Fading an element by automating the Feedback and Dry/Wet of a Delay
- Adding a Riser Effect before a Climax
- Adding a Snare Roll before a Climax
- Spicing up elements only for a part of the track. E.g.:
- Adding some Reverb, Delay or just using an Echo
- Playing some sections an Octave lower or higher
- Playing with the listener’s expectations E.g.:
- Adding a riser effect but not follow it up with any climax
- Instead of starting a bridge, or any other section, on the grid, start if one beat off
TIP
When listening to the track, look away or close your eyes entirely to not be distracted by the arrangement view.
And before you’re ready to upload it to platform, listen to your track in different environments/contexts and sound systems (e.g.: on the train, on a walk, at a friend’s flat, etc.)
When you’ve reached a somewhat final state, take a break and step back. Once you’ve got some fresh ears, it’s time to polish and export!
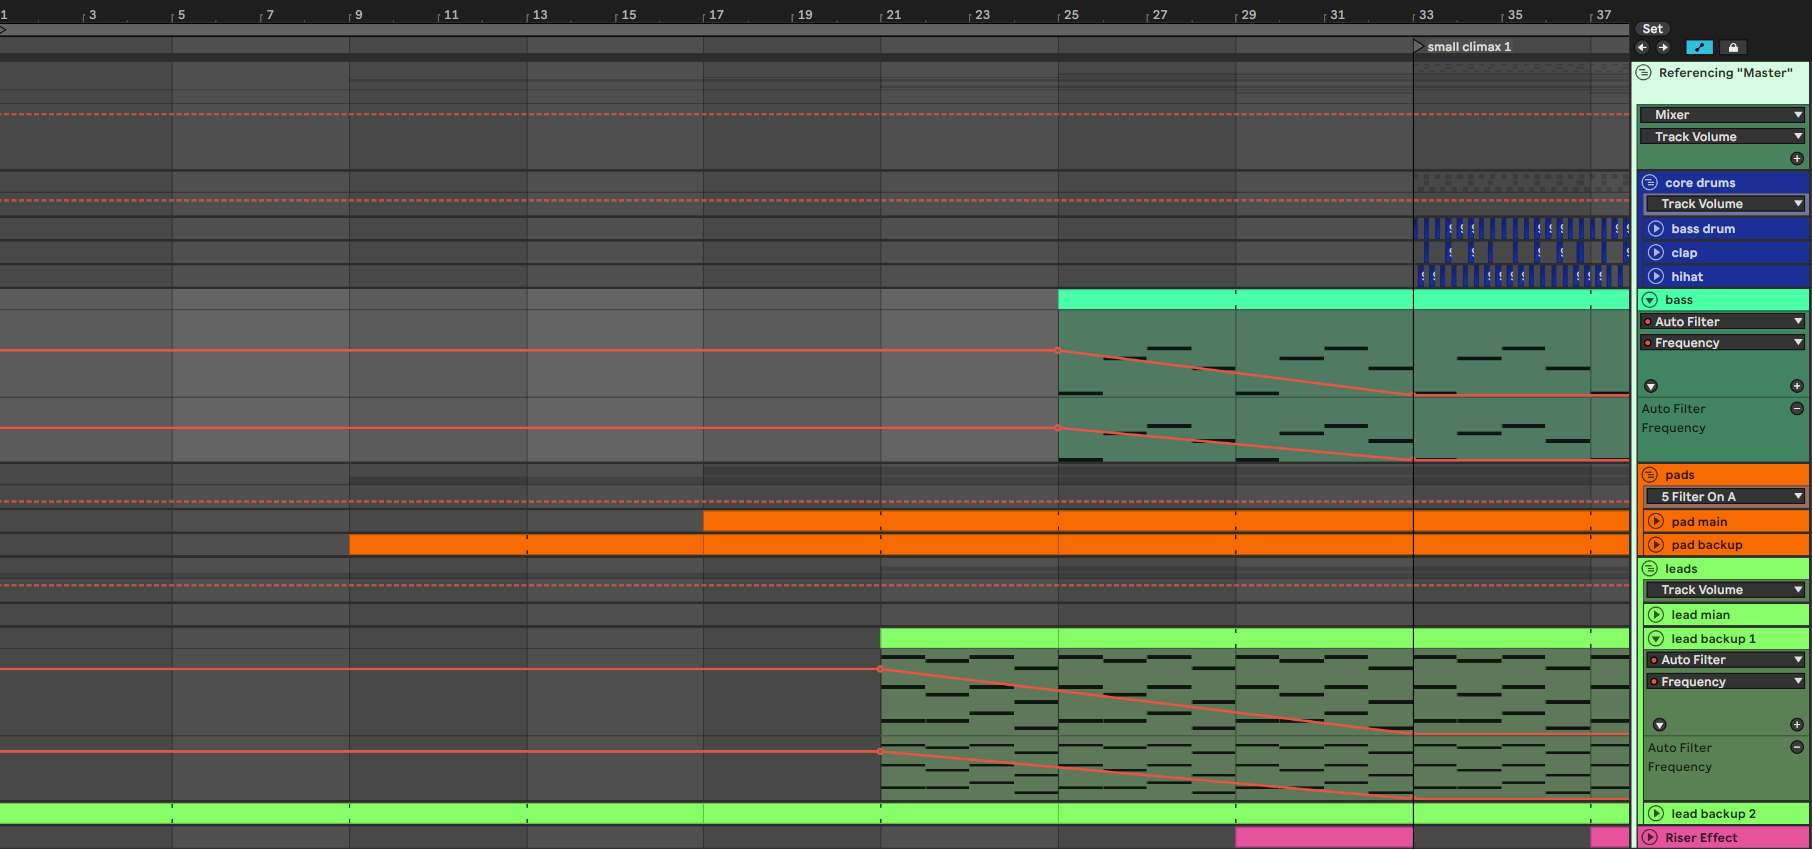
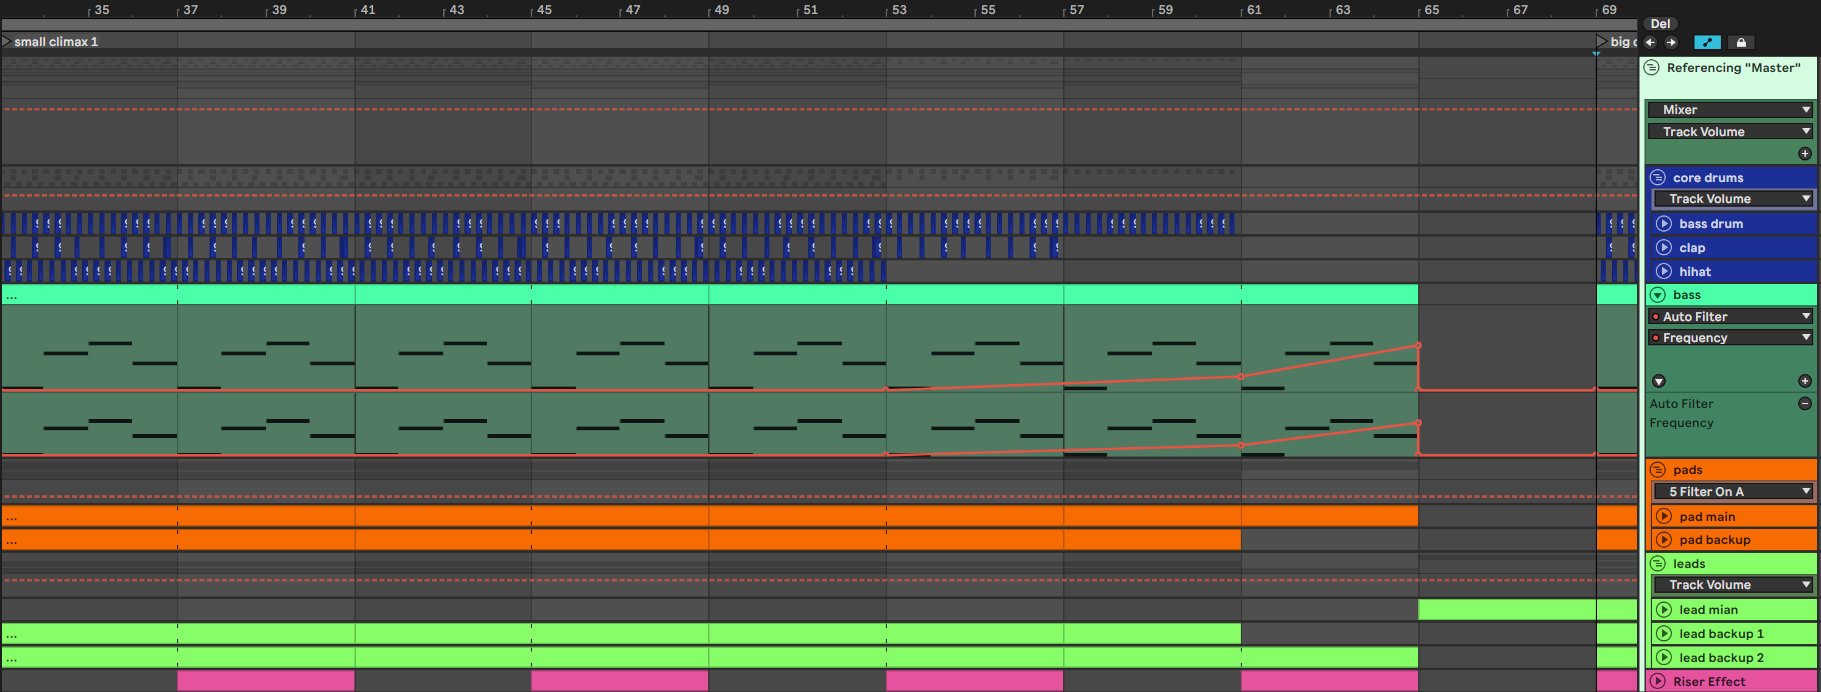
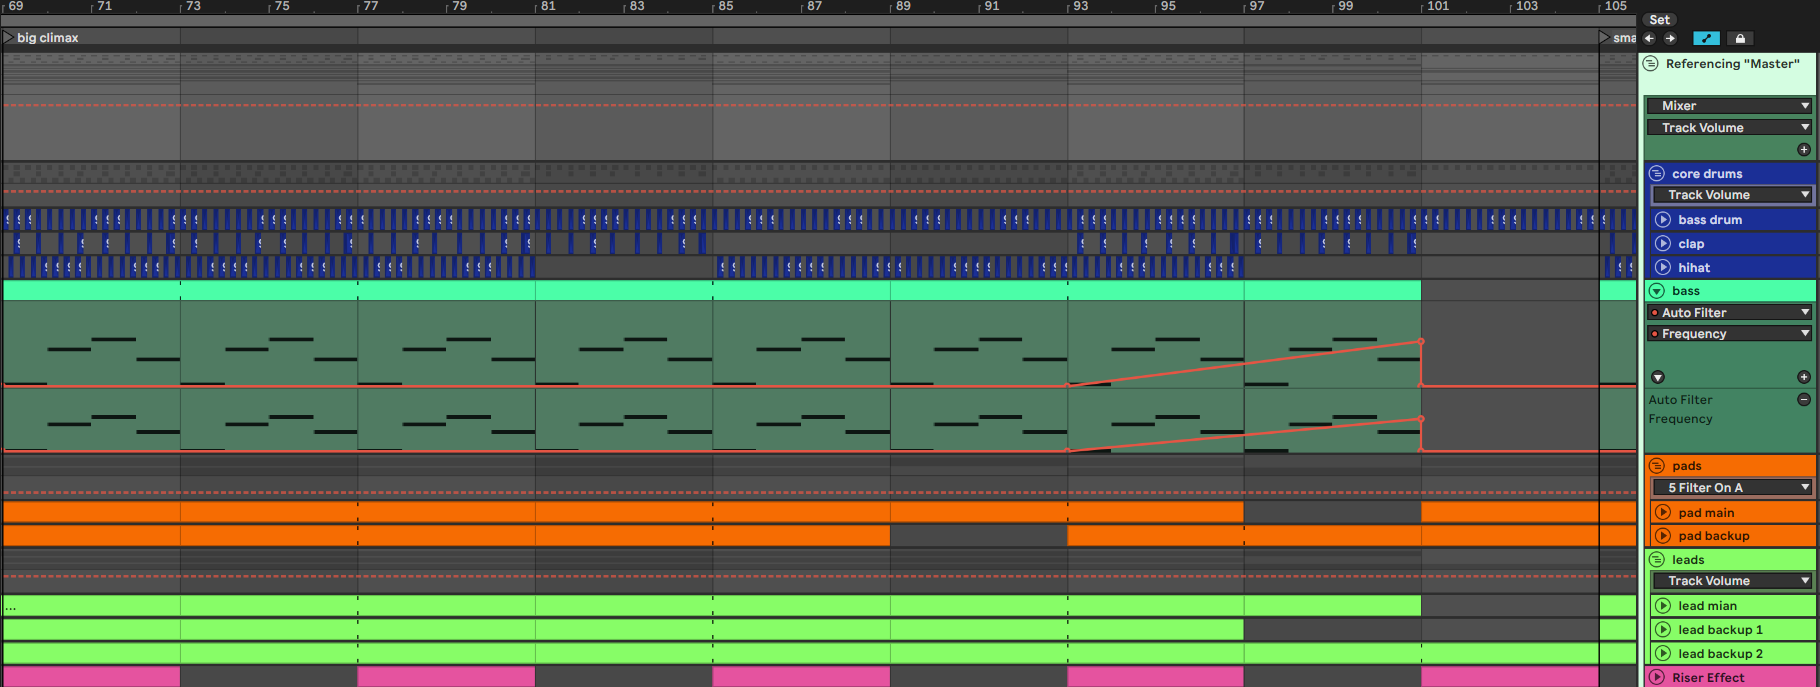
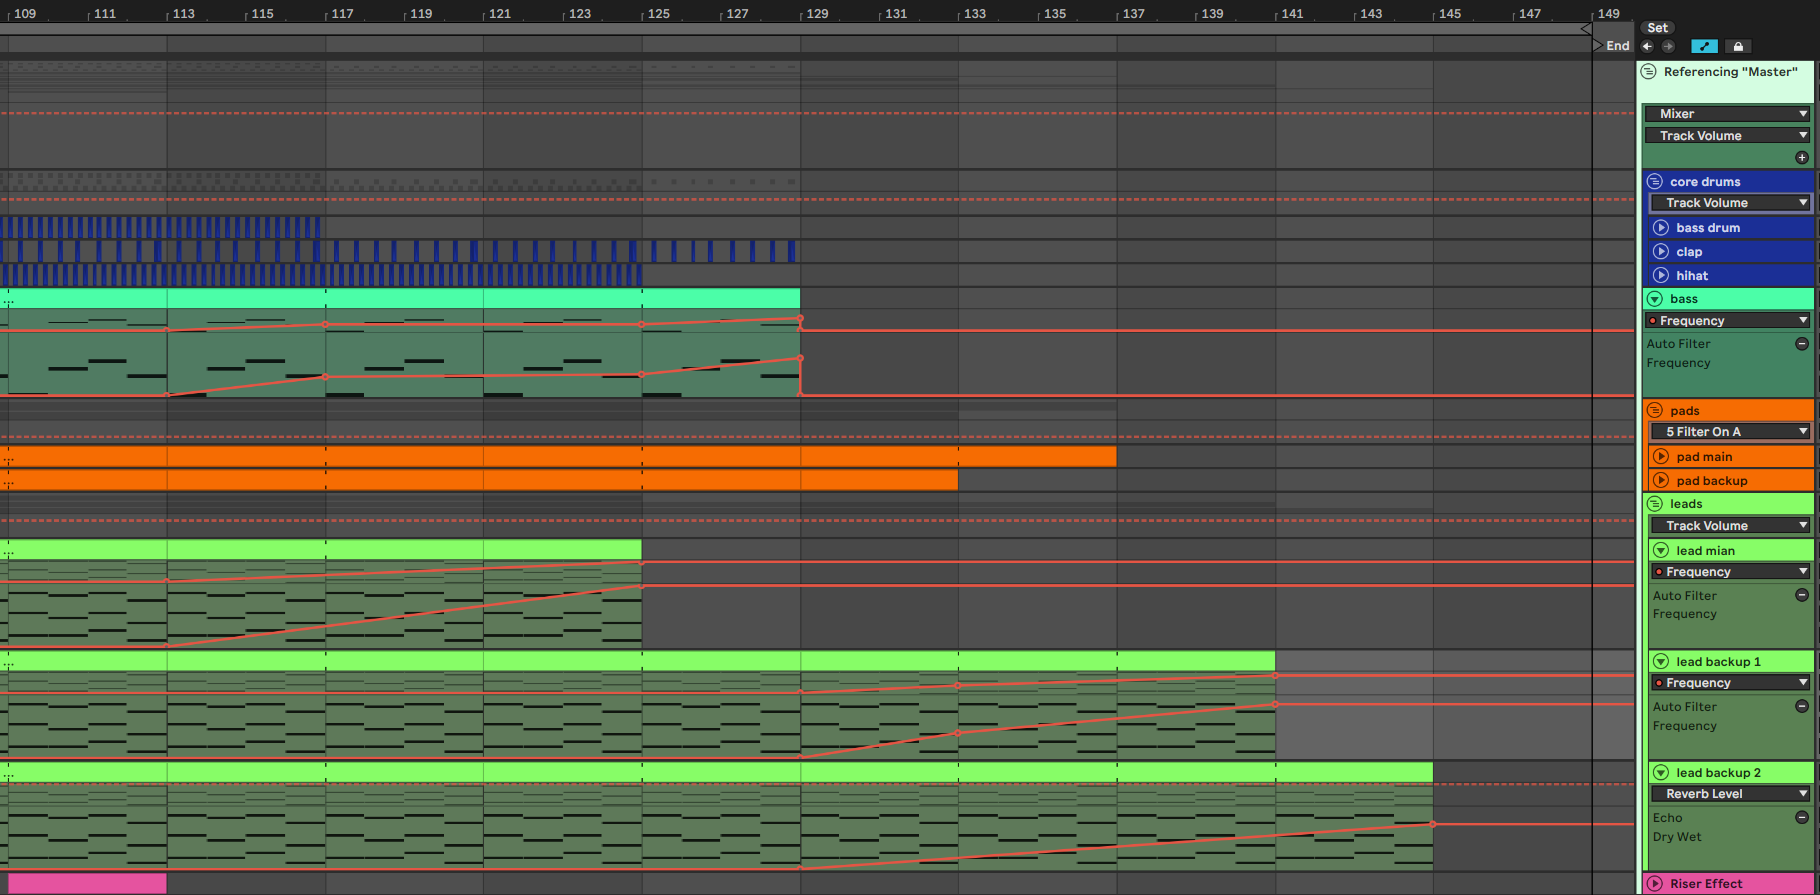
Example Arrangement
Overview
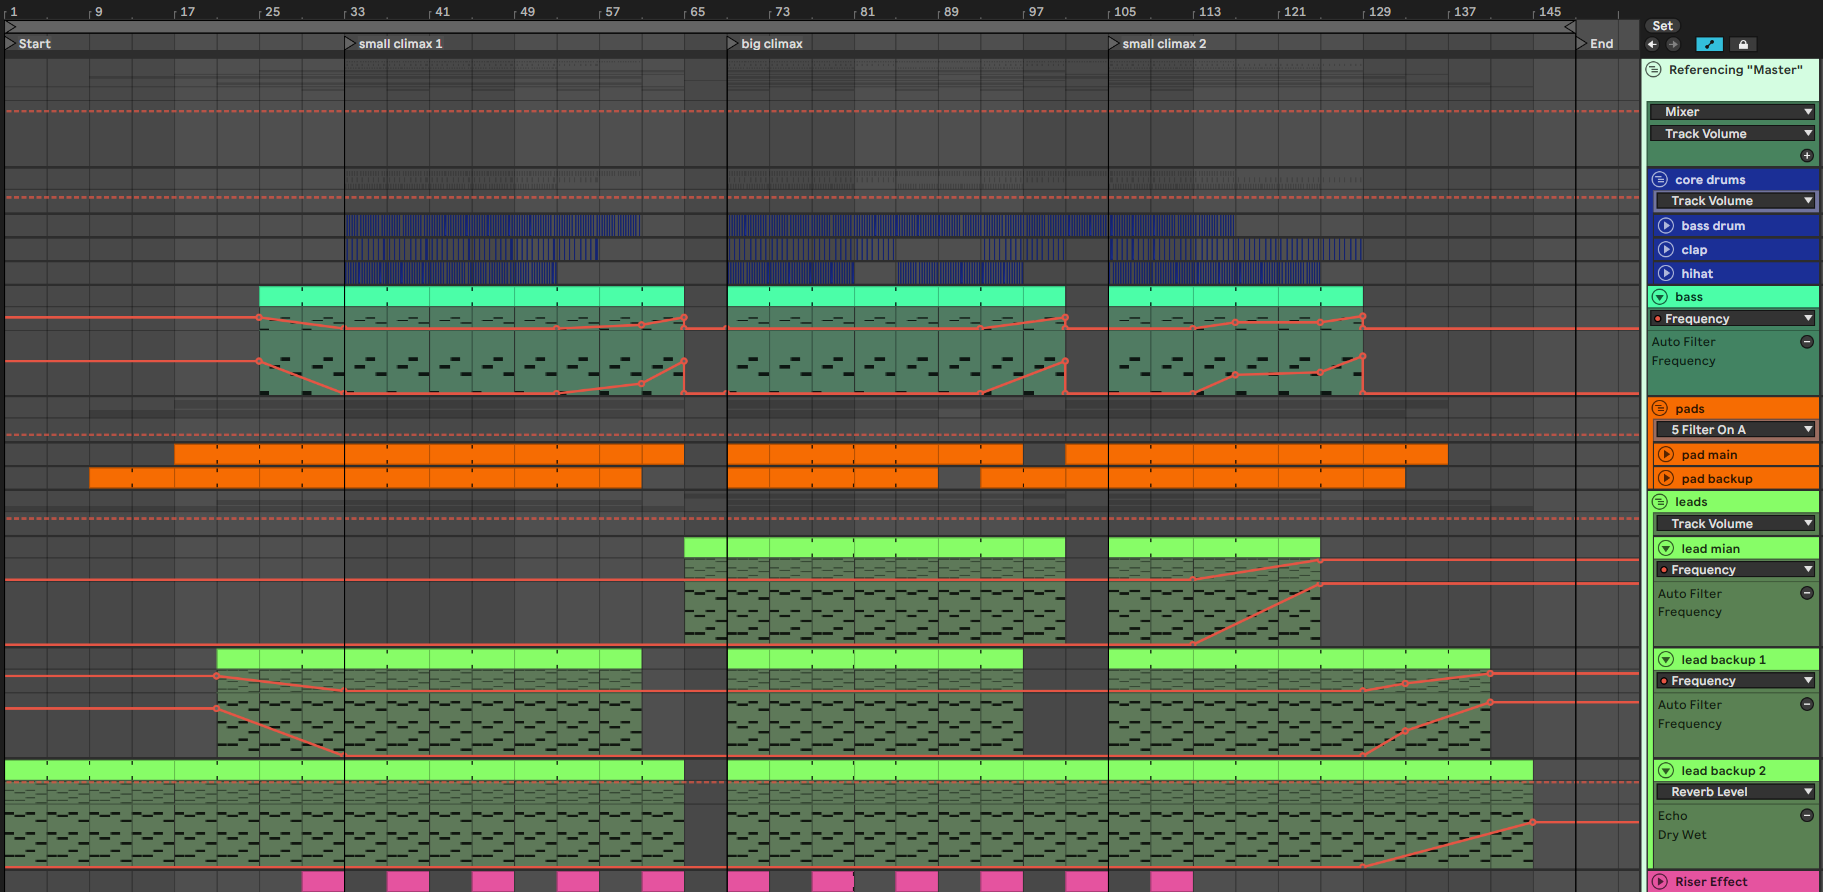
Small Climax 1
Big Climax
Small Climax 2
Tail
Relevant Note(s): Referencing