Analog Synthesizer
Here we’re going to have a look at Ableton Live’s “Analog” Synth:

This can look overwhelming, but all this doing is implementing the theory of Synthesis, so the typical Oscillator → Filter → Amplifer in an instrument. You can click on each of these sections, for example by clicking on the filter like I did in the image above, and then see more controls in the big middle window.
Here you can change things like:
- adjust the filter cutoff aka. Freq
- play with the filter’s resonance
- change the oscillators shape
- adjust ADSR of the filter and/or amp
- route the second oscillator into the same filter & amp chain and then detune them both (both need to have different values) for a thicker and stronger sounding voice.
- Etc.
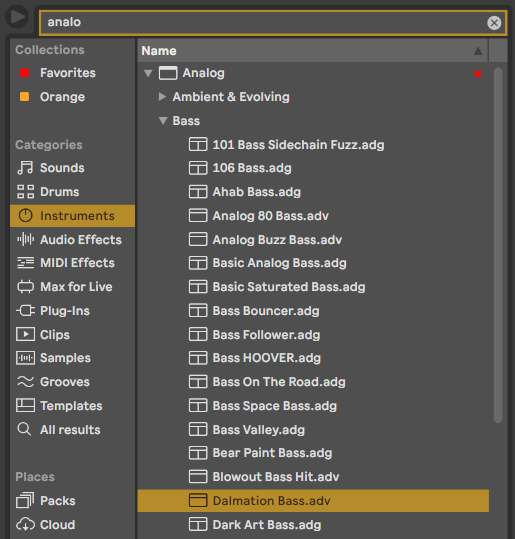
But in practise, I’d recommend picking one of the presets and then working from there, adjusting it how you see fit. All you have to do is select one and then drag it onto your “Analog” instrument and start searching for those goosebump moments.

TIP
Remember that all of these settings can be automated!
Relevant Note(s):