Sound Stage
Music is stereo, this is the second dimension of the space you can influence. Placing sounds in the middle, aka. 12 o’clock, will usually give them higher priority. The farther to the edges they get, the less important they’ll seam.
Don’t overdo it with this dimension, all it is really here for is to give your track some “stereo interest” when people listen to it using headphones.
IMPORTANT
You want to create something that gives the listener some stereo interest when they listen to using headphones or a pair of speakers, but you also need to make sure it sounds good in a mono setting, like a club.
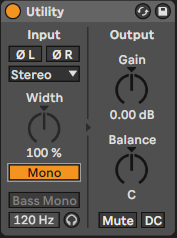
You do this by occasionally enabling the Utility’s mono function on the Master channel:
WARNING
Usually it’s best if you leave the Bass and the lows in general mono, but ofc. this is art, so anything is allowed.
TIP
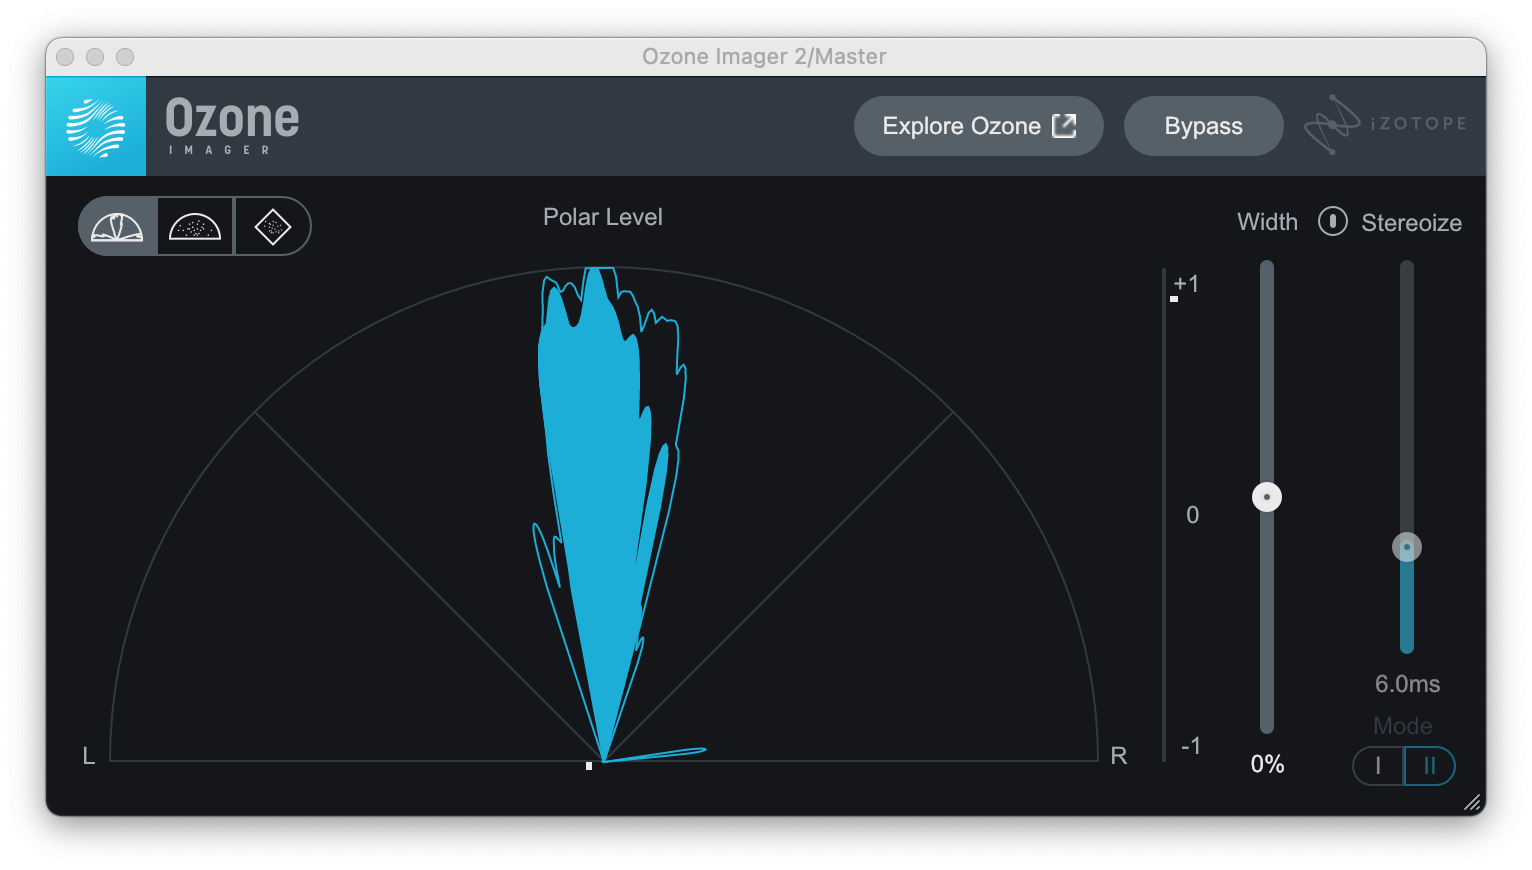
If you want to visualize the Sound Stage, I can recommend the free Ozone Imager 2 VST
In Ableton, you can control this through the Panning knob:
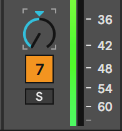
Now this is quite harsh and a bit unrealistic, as in real live sounds coming from the left only arrive at the left ear first, but still make it to the right with a slight delay.
For this, we have the Haas Effect:
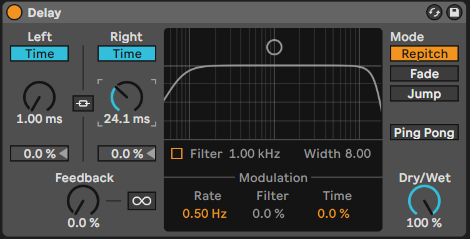
Disable Filter, set the Feedback to 0, set Dry/Wet to 100, decouple the left from the right ear, set them both to Time instead of Sync:
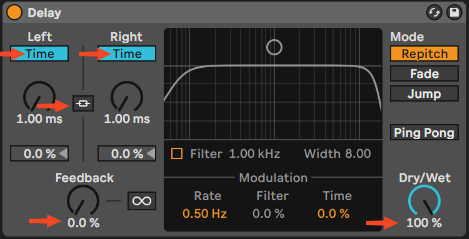
Now change either left or right to the desired with, but make sure it still sounds like 1 effect to your ears. So something around 20ms is typically right.
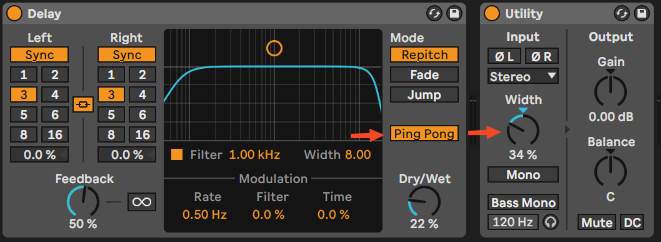
What also can sound very nice using a Ping-Pong Delay, this is super easy to do by just enabling the option. Now to tame the effect a bit, you can turn down the with using Utility:
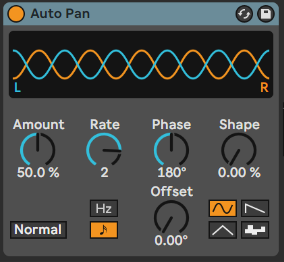
To add a bit of stereo interest, you can also add an Auto Pan:
Relevant Note(s):
