Digital Audio Workstation
A Digital Audio Workstation (DAW) is an electronic device or application software used for recording, editing and producing audio files. DAWs come in a wide variety of configurations from a single software program on a laptop, to an integrated stand-alone unit, all the way to a highly complex configuration of numerous components controlled by a central computer. Regardless of configuration, modern DAWs have a central interface that allows the user to alter and mix multiple recordings and tracks into a final produced piece. DAWs are used for producing and recording music, songs, speech, radio, television, soundtracks, podcasts, sound effects and nearly any other situation where complex recorded audio is needed.1
NOTE
I’m focusing on Ableton Live 11 just because that’s the first DAW I was introduced to, there are other DAWs like FL Studio and Reason, but most of the concepts and topics in this note will also apply to other DAWs as well.
First Help aka. Info View
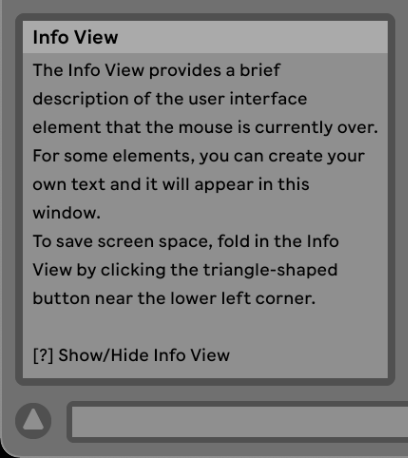
In the bottom left corner you have the info view, this can be the first stop when you don’t know what something does. You can just hover over the element and the associated text for it will appear. The Info View can also be collapsed by pressing the bottom left arrow, so you might need to open it again.
Keyboard Shortcuts
As with any software, I’ve found that learning the keyboard shortcuts significantly speeds up my workflow and also serves as a little overview of what the software allows me to do. So here are the official Ableton Keyboard Shortcuts:
Audio Clipping
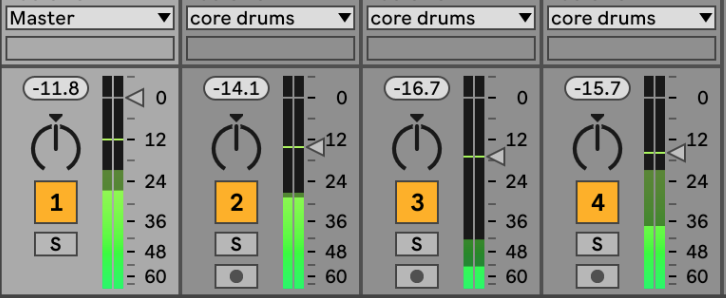
During production in your DAW you likely won’t notice it, but when you export the project sounds will be overpowered by others. So you need some headroom (something like -12 db).
Audio and MIDI tracks
Ableton Live has two types of tracks:
- Audio tracks (Cmd + T): This is the typical one which consists of a audio sample
- MIDI tracks (Cmd + Shirt + T): Here you specify a set of instructions which will then be played by a digital instrument, like this:
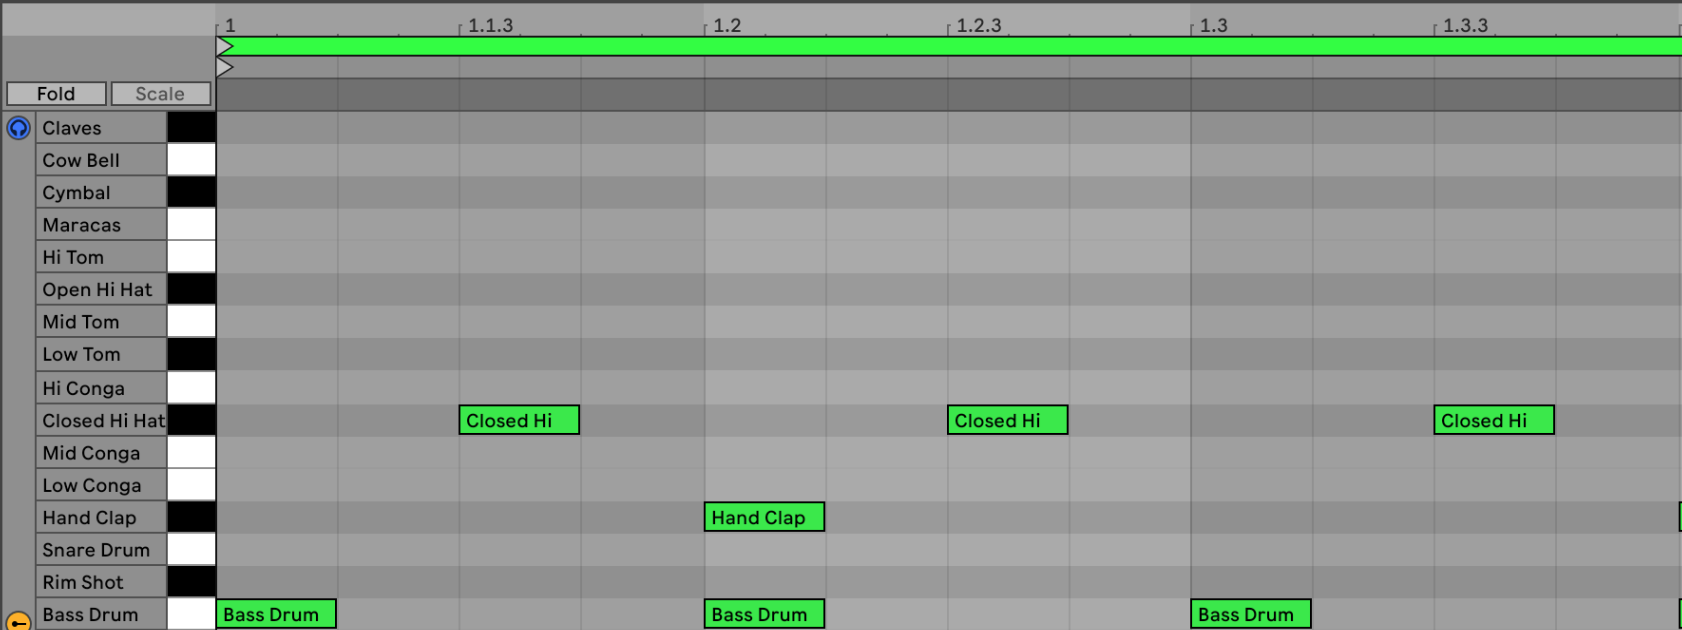
The above view is called the Piano roll and can be accessed by pressing Shift + Tab on your keyboard.
IMPORTANT
But before you can create your own MIDI instructions, you need to create a new MIDI Clip (Shift + Cmd + M) and then apply kit (.adg) to it (e.g.: a 808 Drum kit)
Audio effects
Ableton Live has a lot of audio effect out of the box:
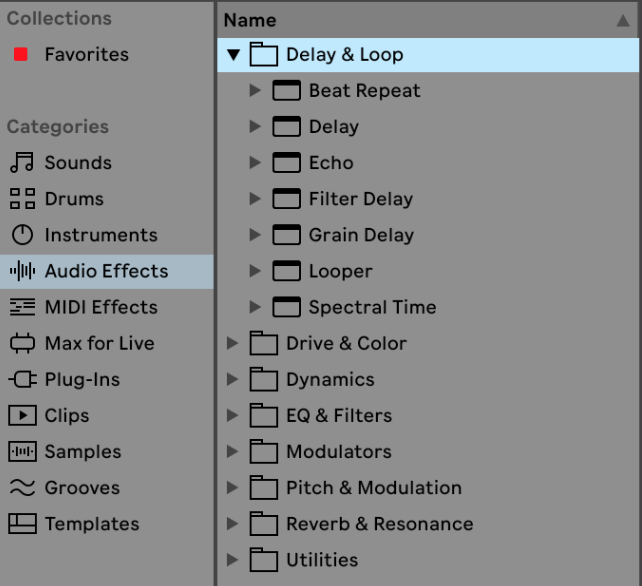
Once applied to a Midi Clip, you can customize to your liking and also chain them together:

Dry vs Wet
Usually we refer to the signal with no effect applied to is as “dry” and the signal with the effect as “wet”.
Convert MIDI to Audio
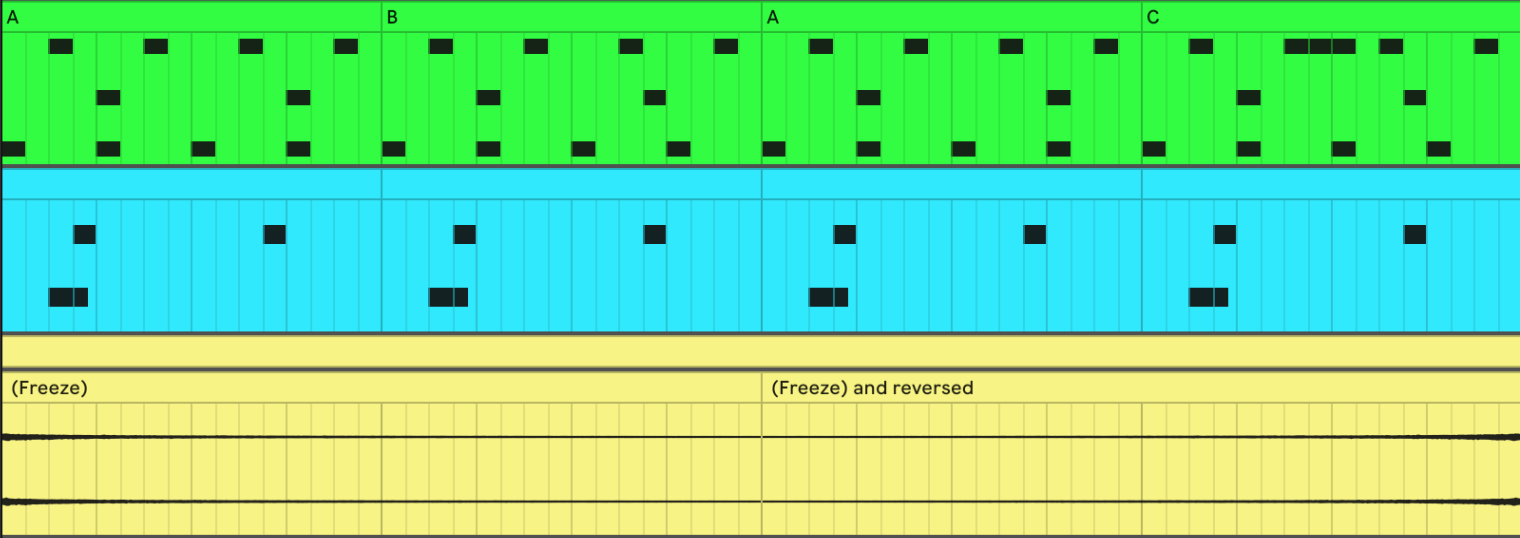
If you “Freeze” a Track and then “Flatten” it, both of with can be accessed by right-clicking on the track and then selecting it from the new window. The result should look something like this:

This gives you some advantages like being able to reverse the audio:

This becomes interesting when we want to build tension by reversing the crash and adding it at the end:
Relevant Note(s): Electronic Music Production