Active Directory Setup
In this setup, we will configure two Domain Controllers and joining one client into the domain. But first you need to download the ISOs from Microsoft Evaluation Center:
Domain Controller 1
- Create a new VM and Boot
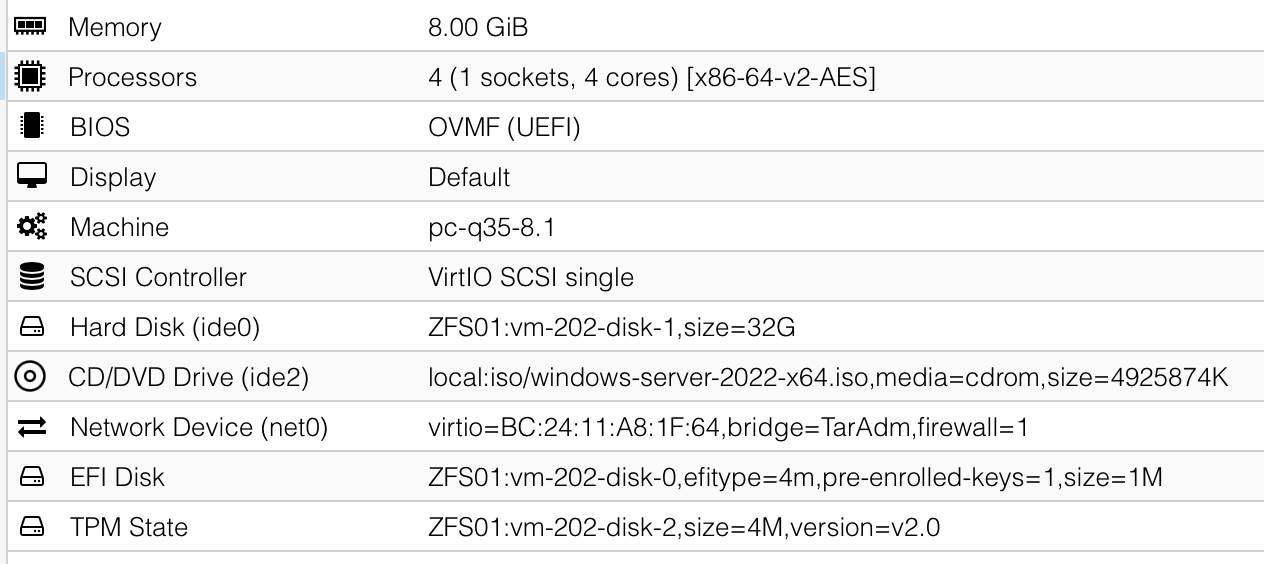 For some reason the default
 VirtIOnetwork model wasn’t recognized by Windows, so I switched it toVMware vmxnet3:
- Select your language
- Install
Windows Server 2022 Standard Evaluation (Desktop Experience)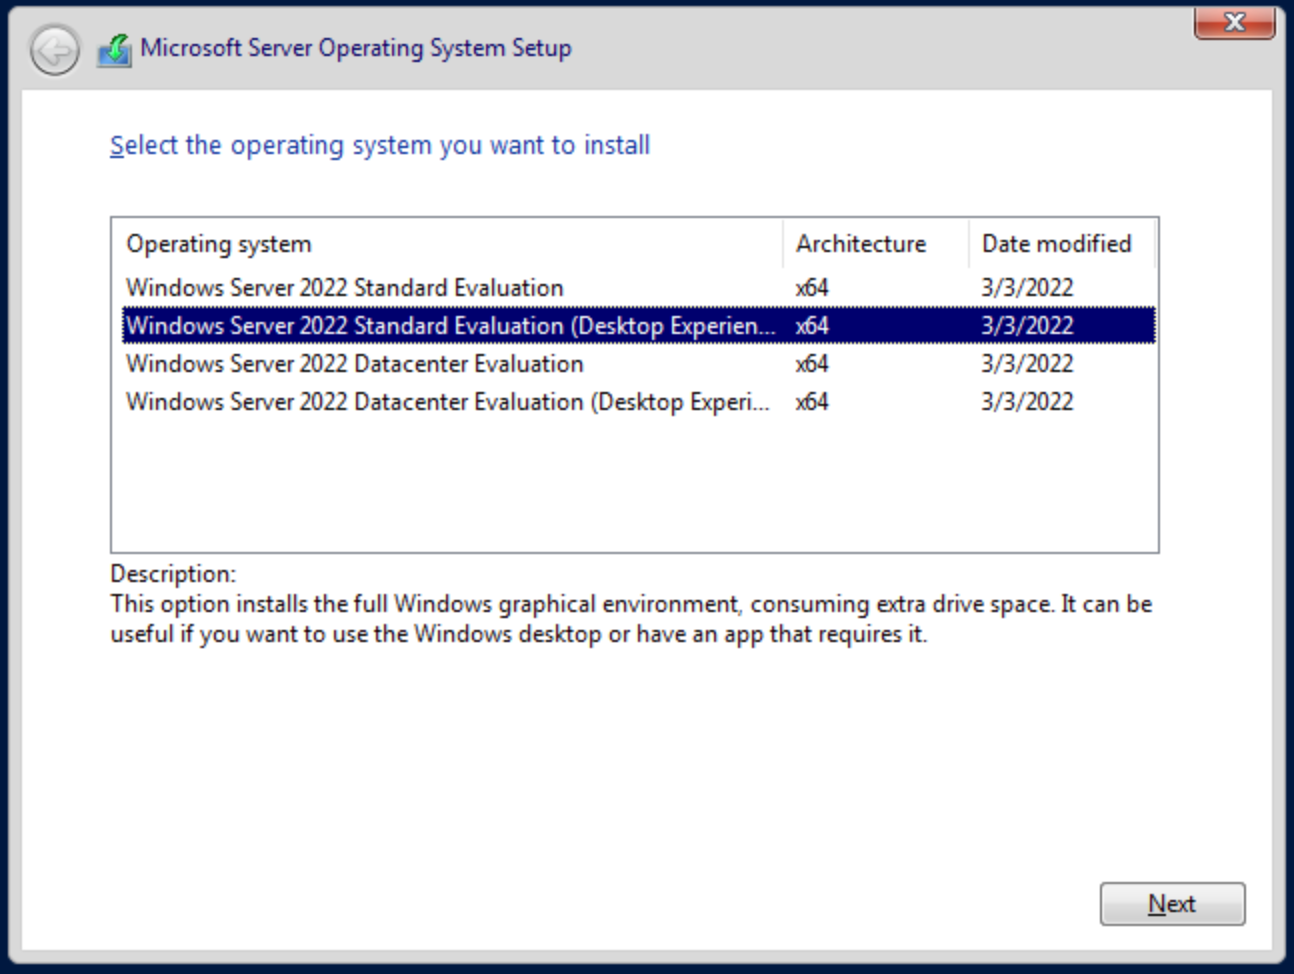
- Select
Custominstallation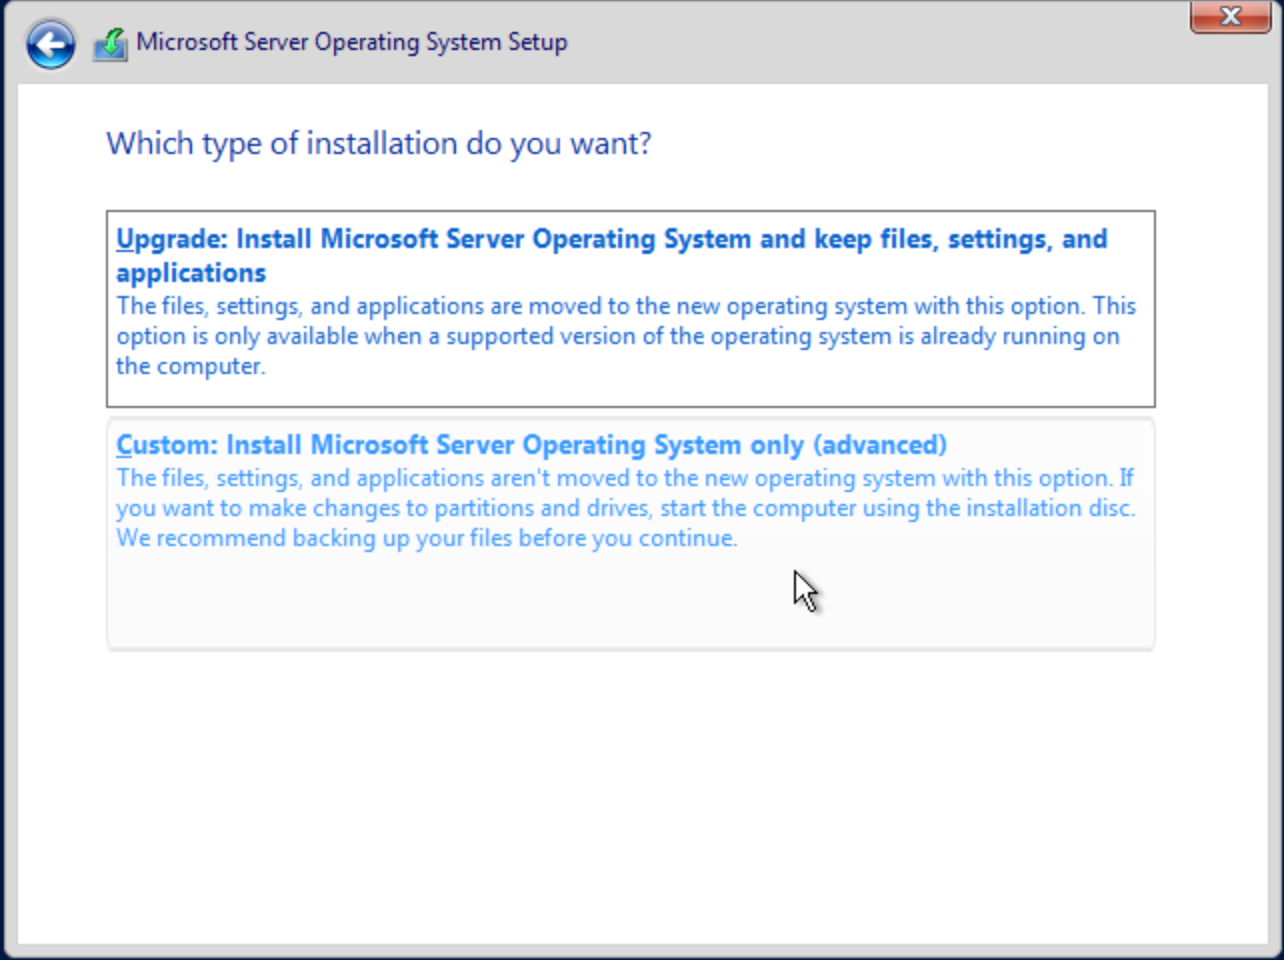
- Set the
Administratorpassword - Rename the server
- In the
Server ManagerclickAdd roles and features - Make sure
Role-based or feature-based installationis selected - Select our server in the
Server Selection - Select
Active Directory Domain Servicesfrom the list: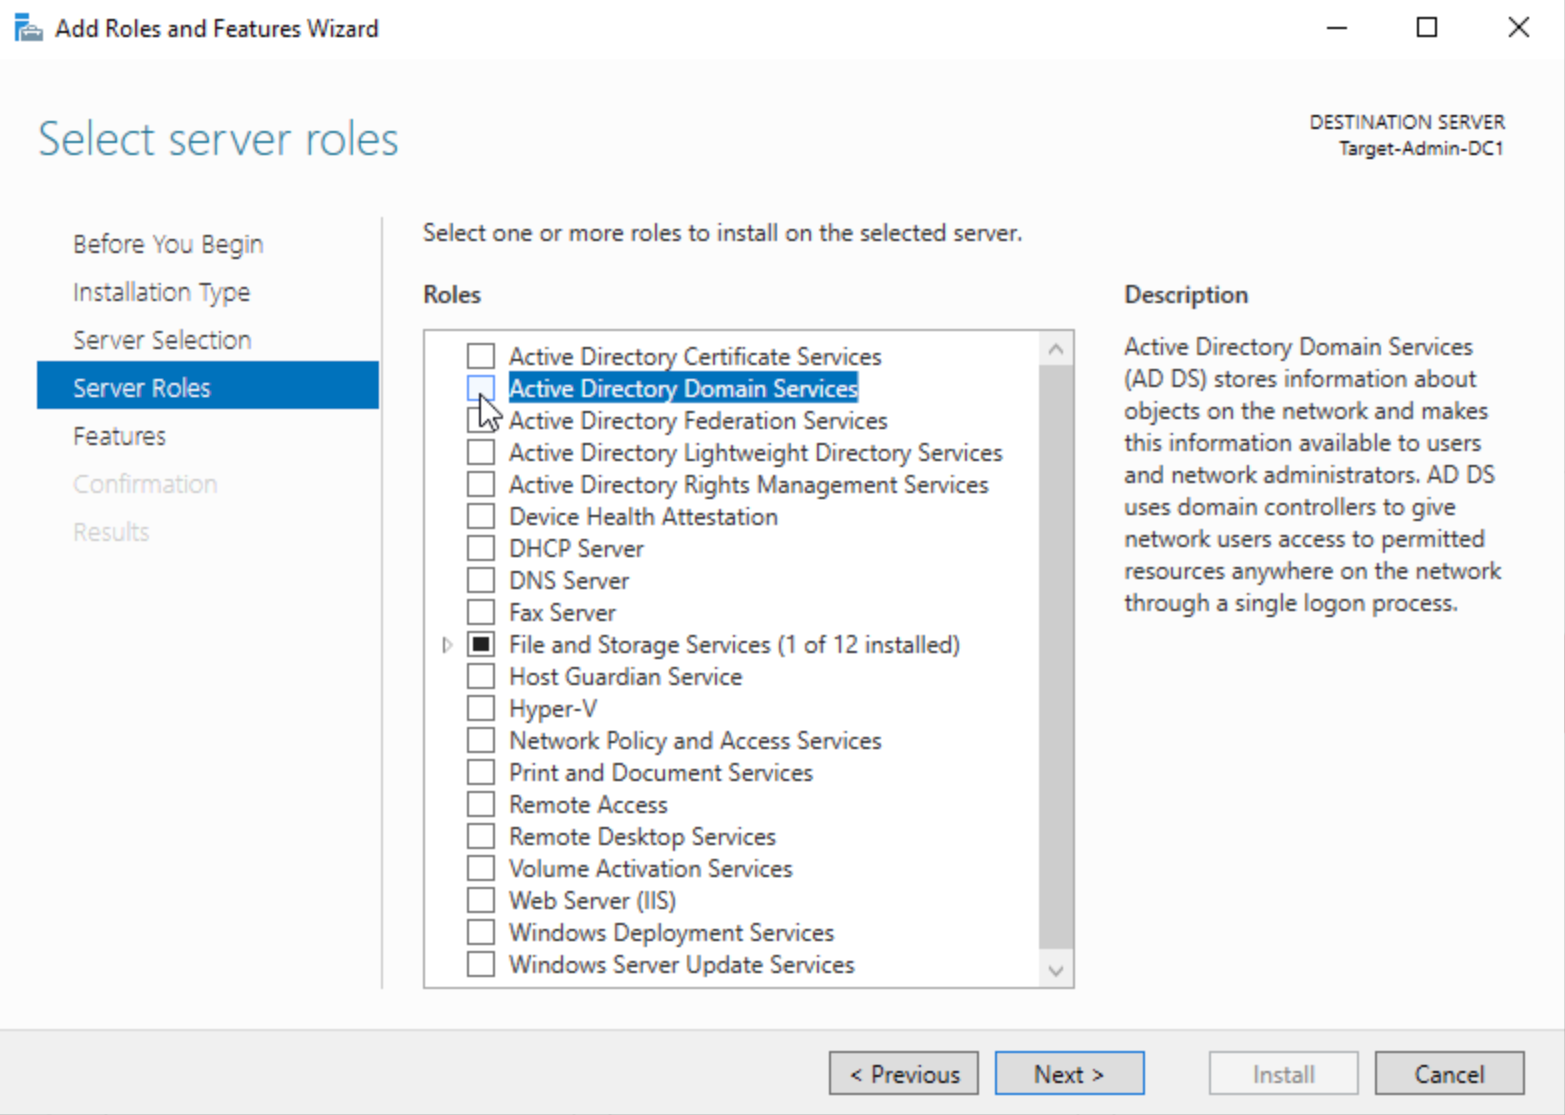
- Finish the Installation
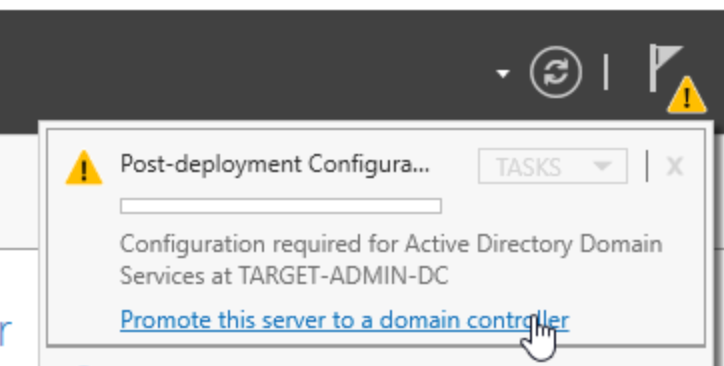
- Promote the Server to a Domain Controller:
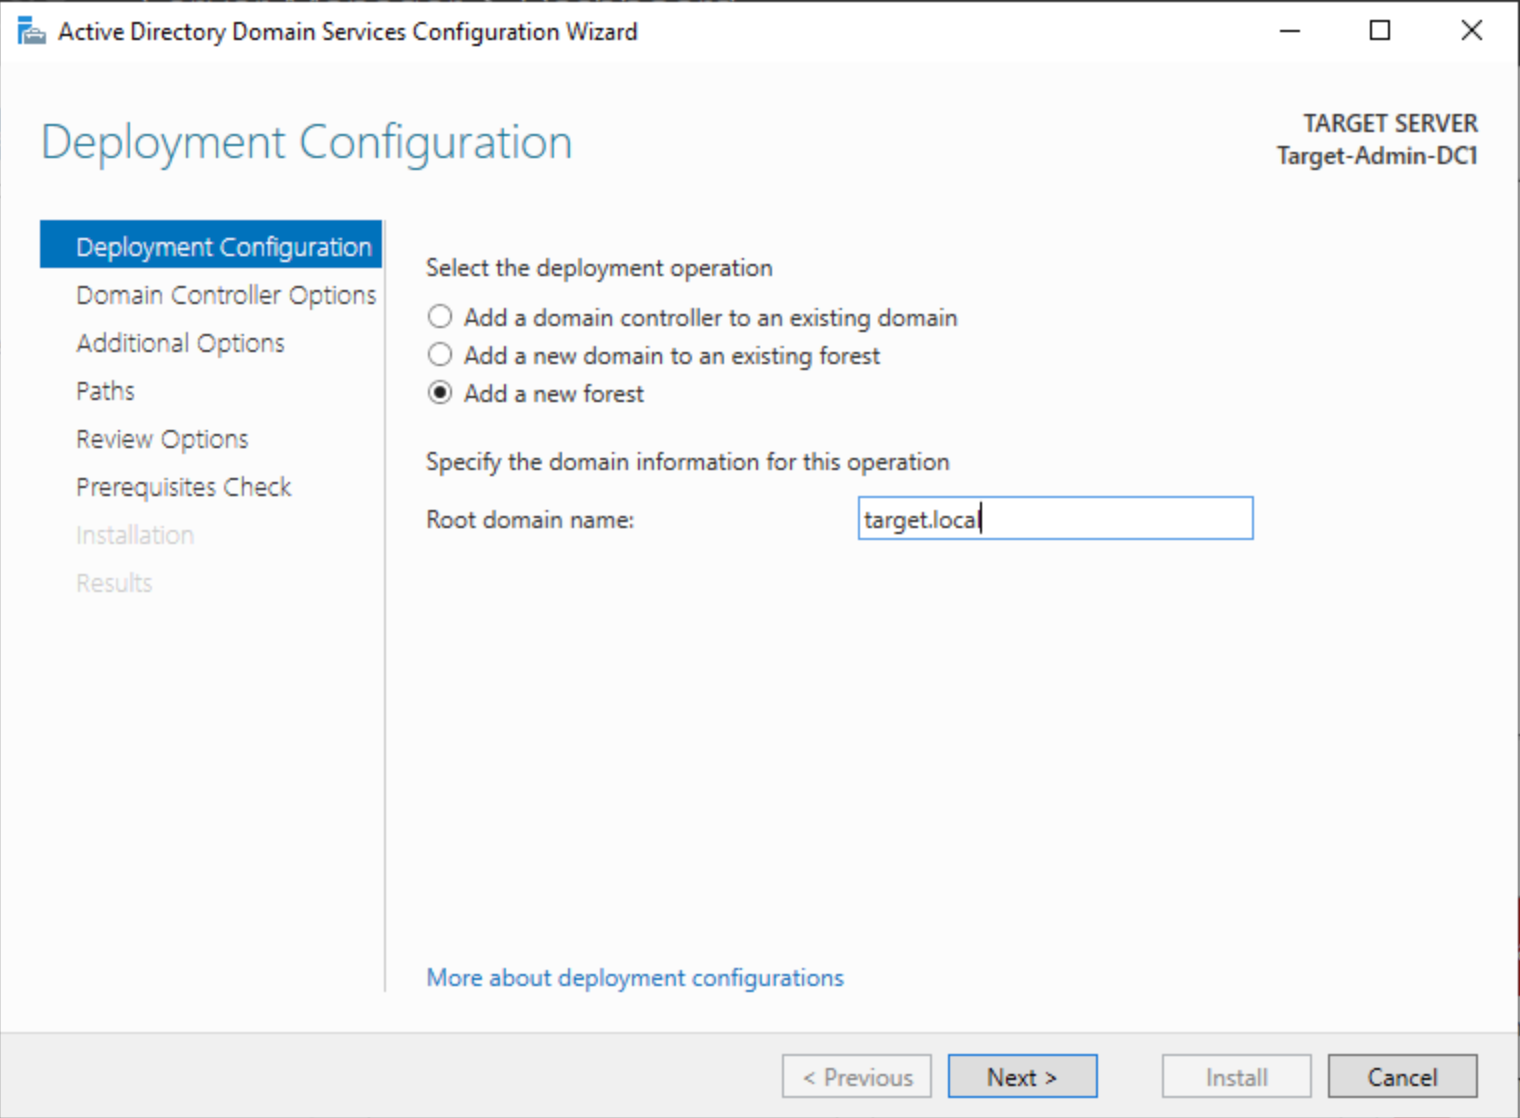
- Add a new forest:
- Set a Directory Services Restore Mode (DSRM) password
- Leave DNS delegation blank
- Finish the Installation
- After the reboot, select
Active Directory Users and Computers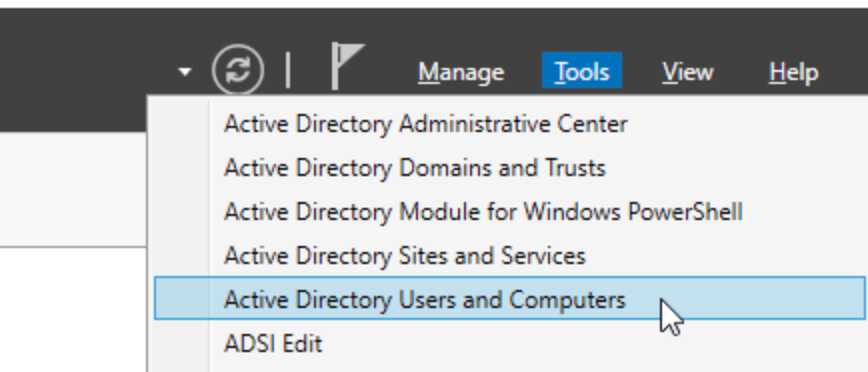
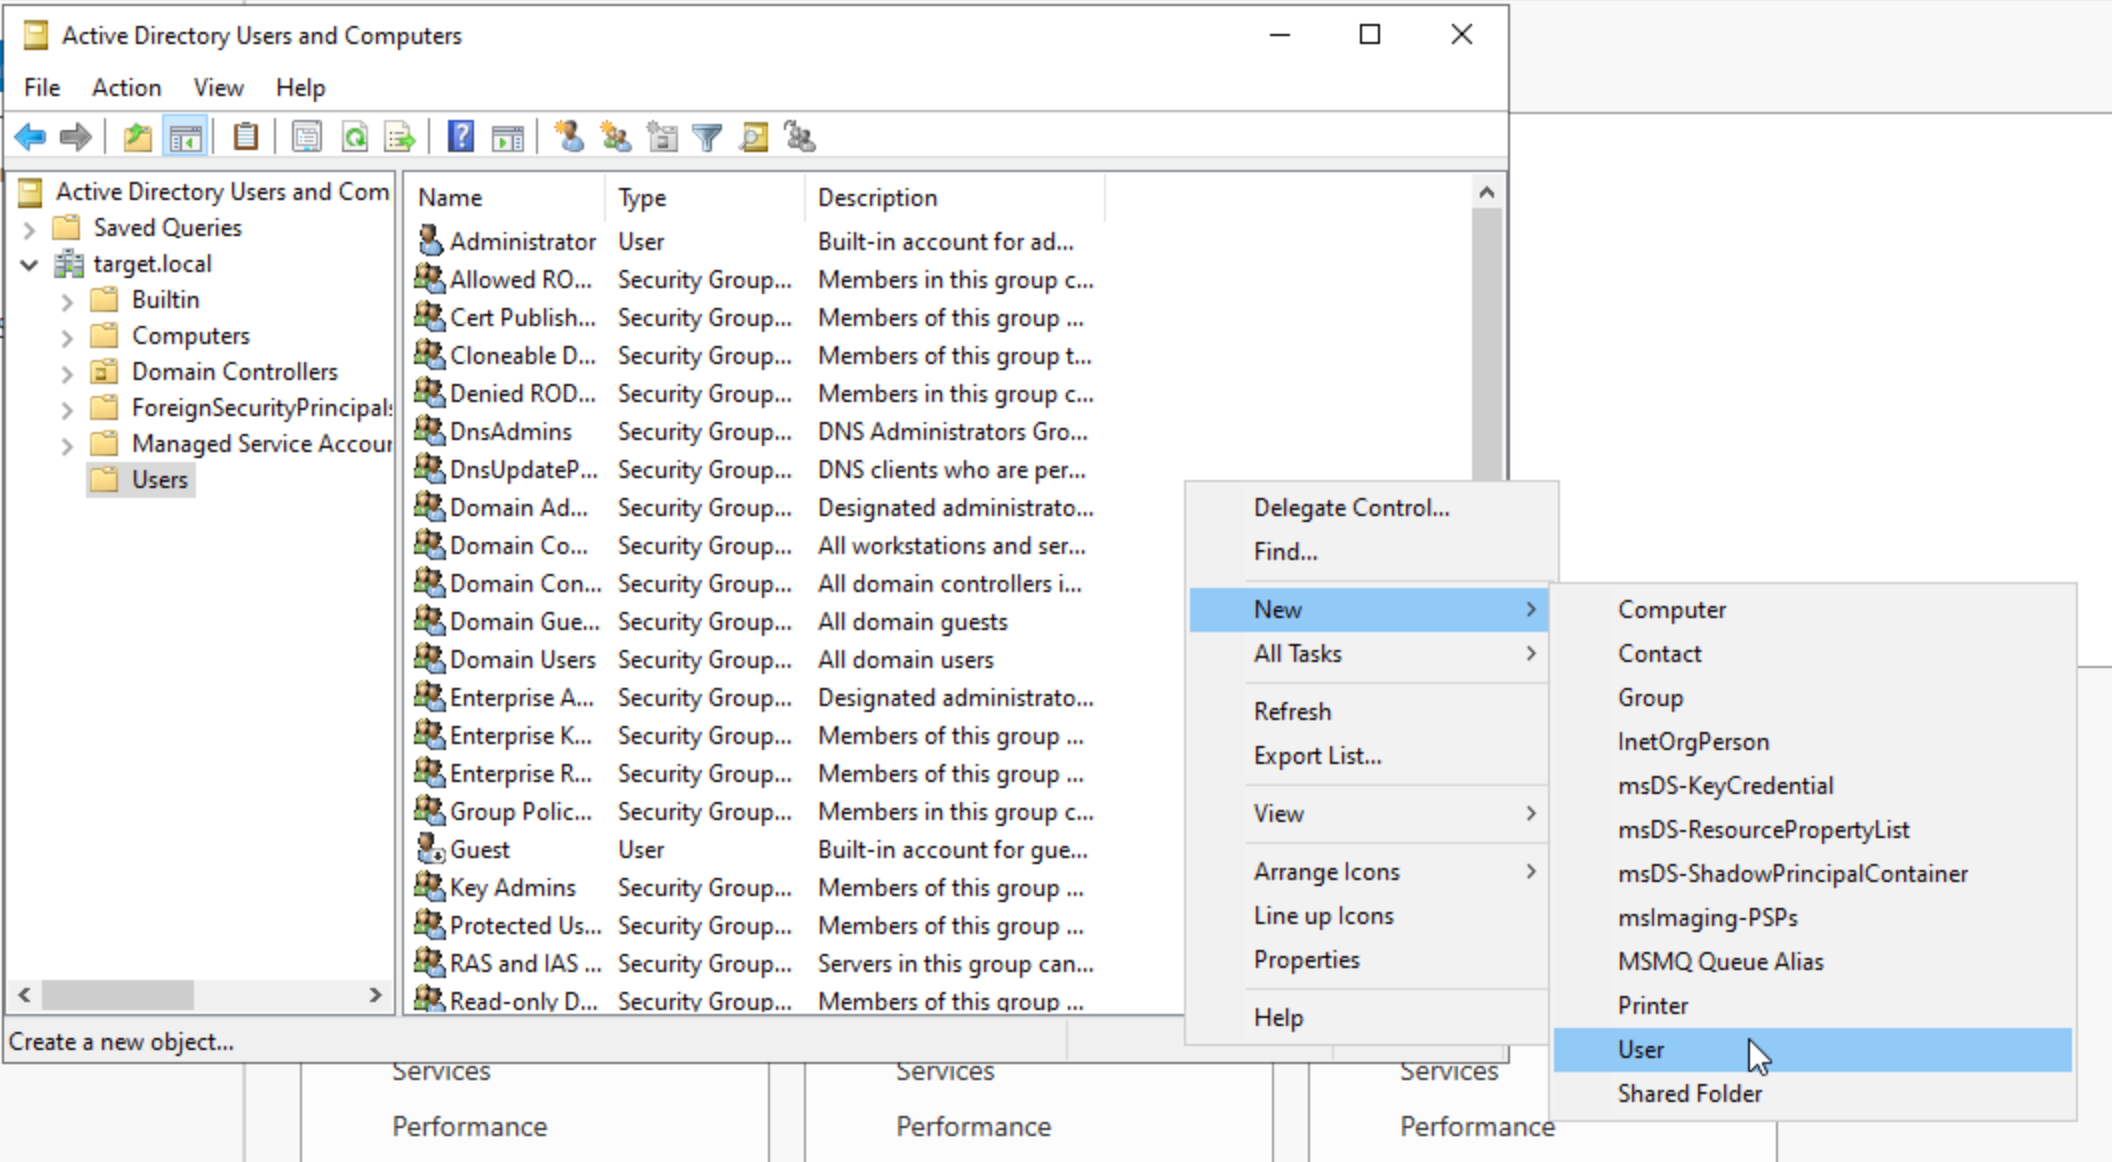
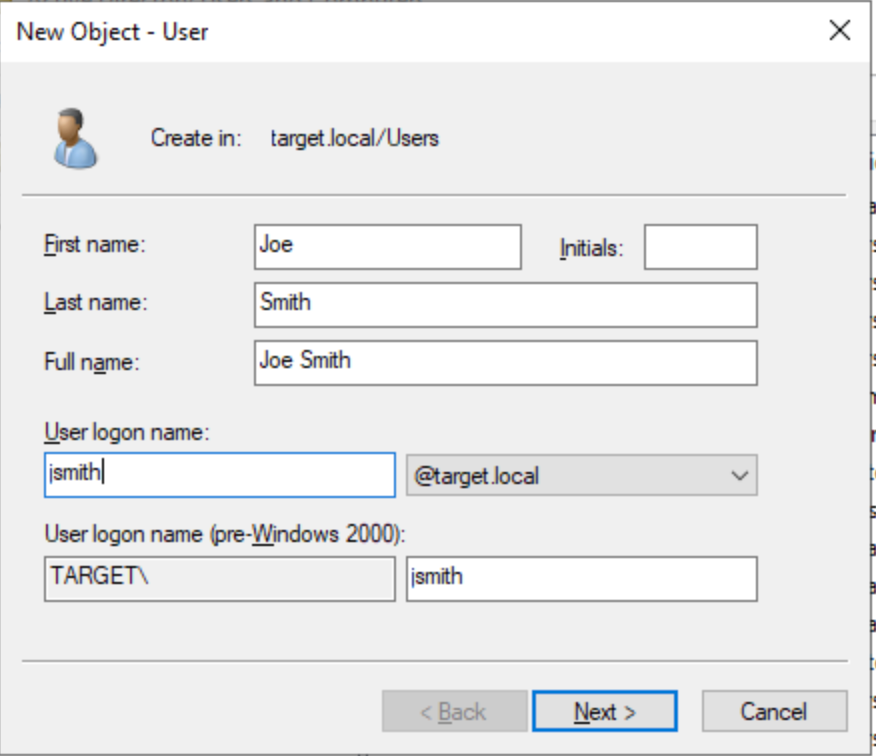
- Create a new user:
- Under settings, go to
Network & Internetand selectChange adapter options: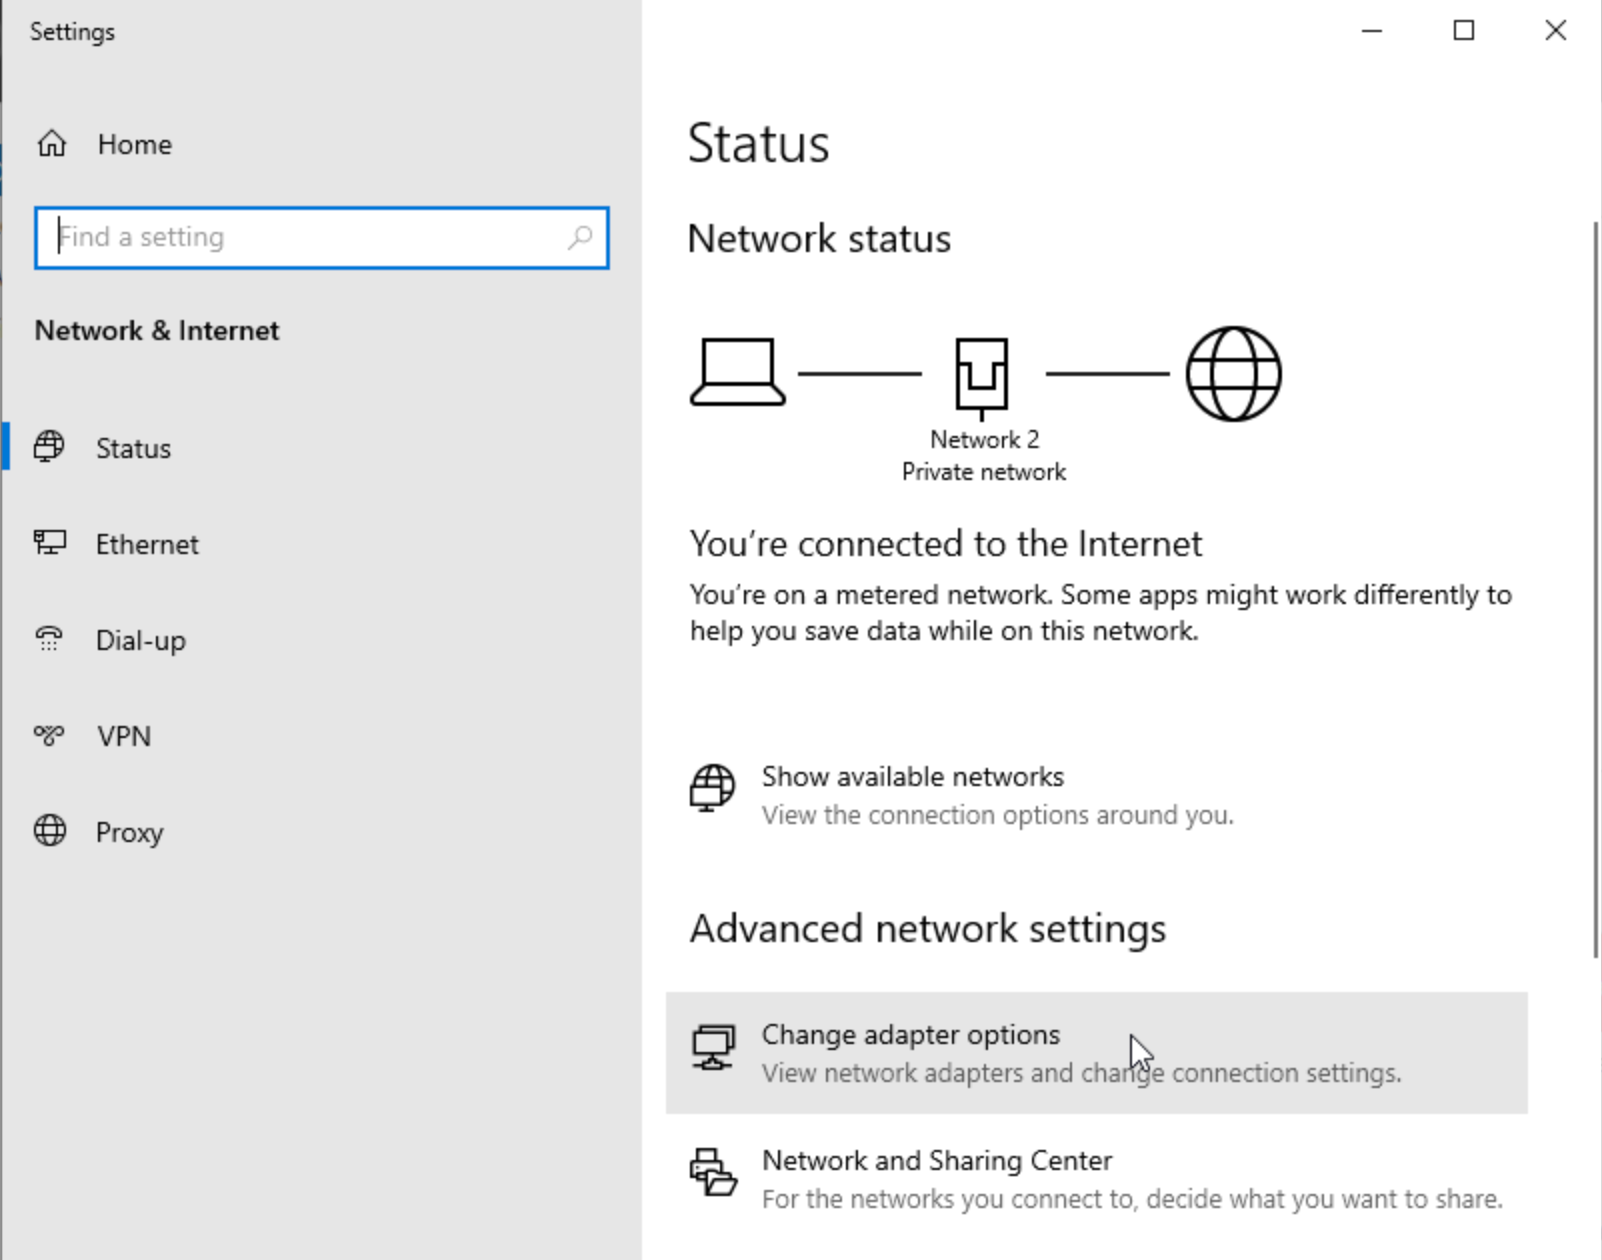
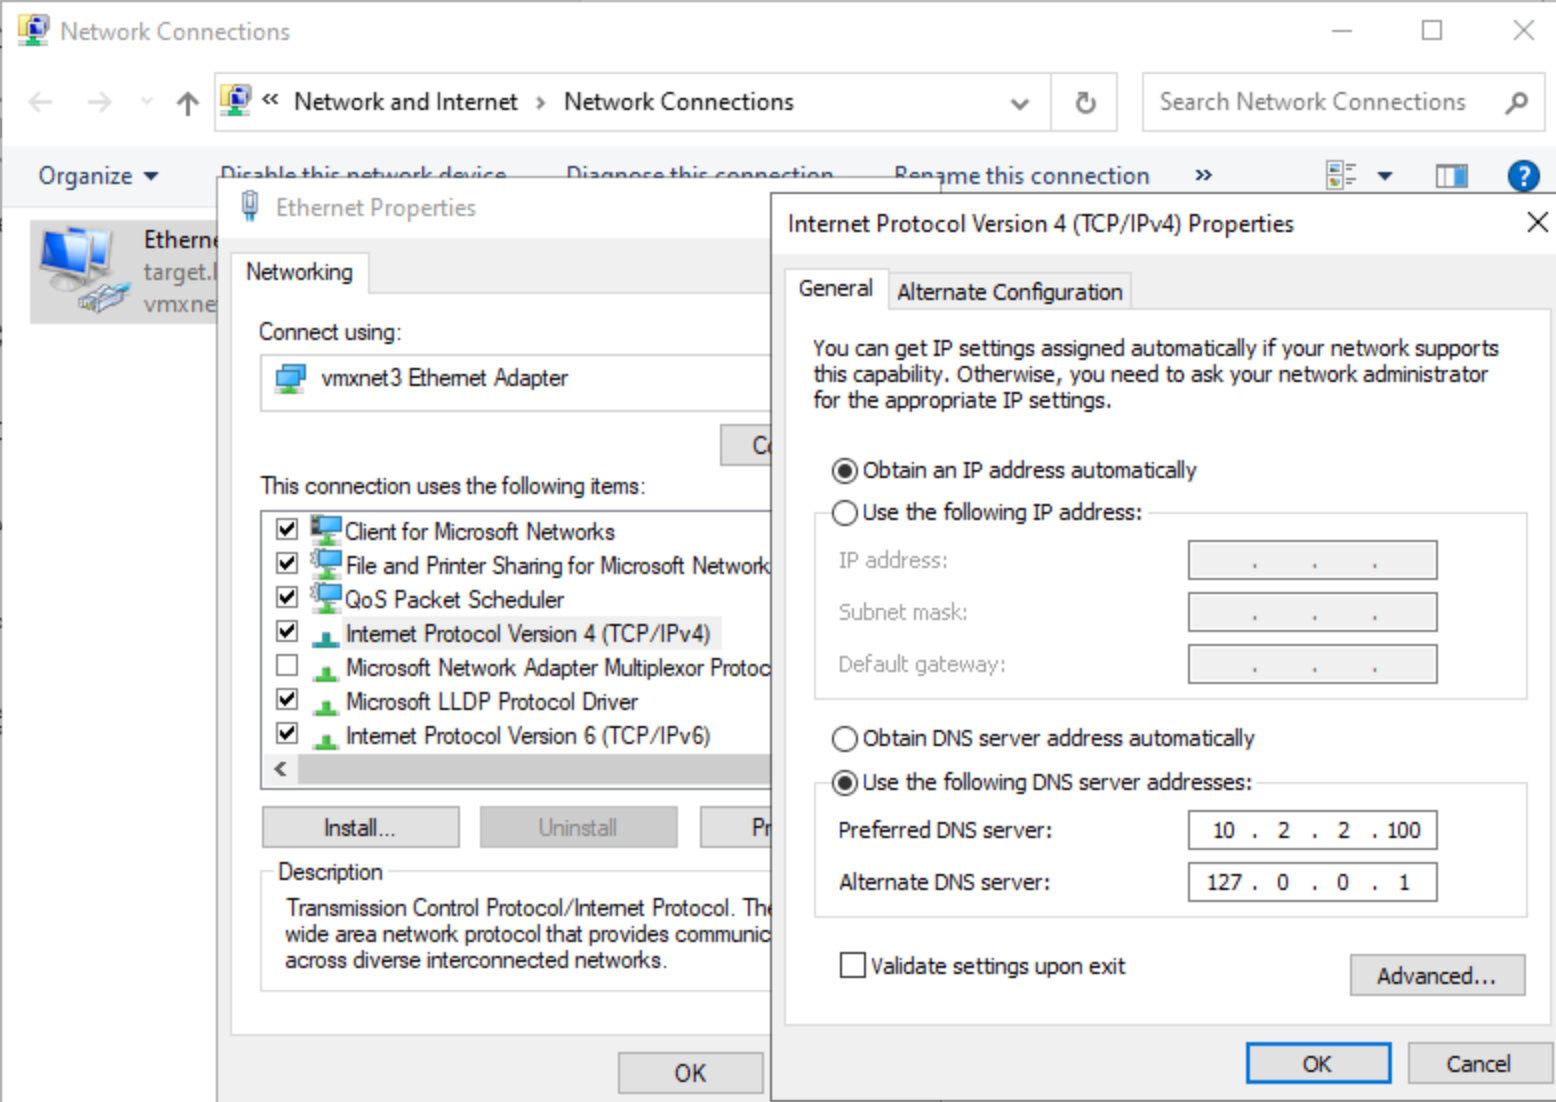
- Set the preferred DNS to the IP of the first Domain Controller:
Windows Client
- Create a new VM and follow the installation wizard
- Under
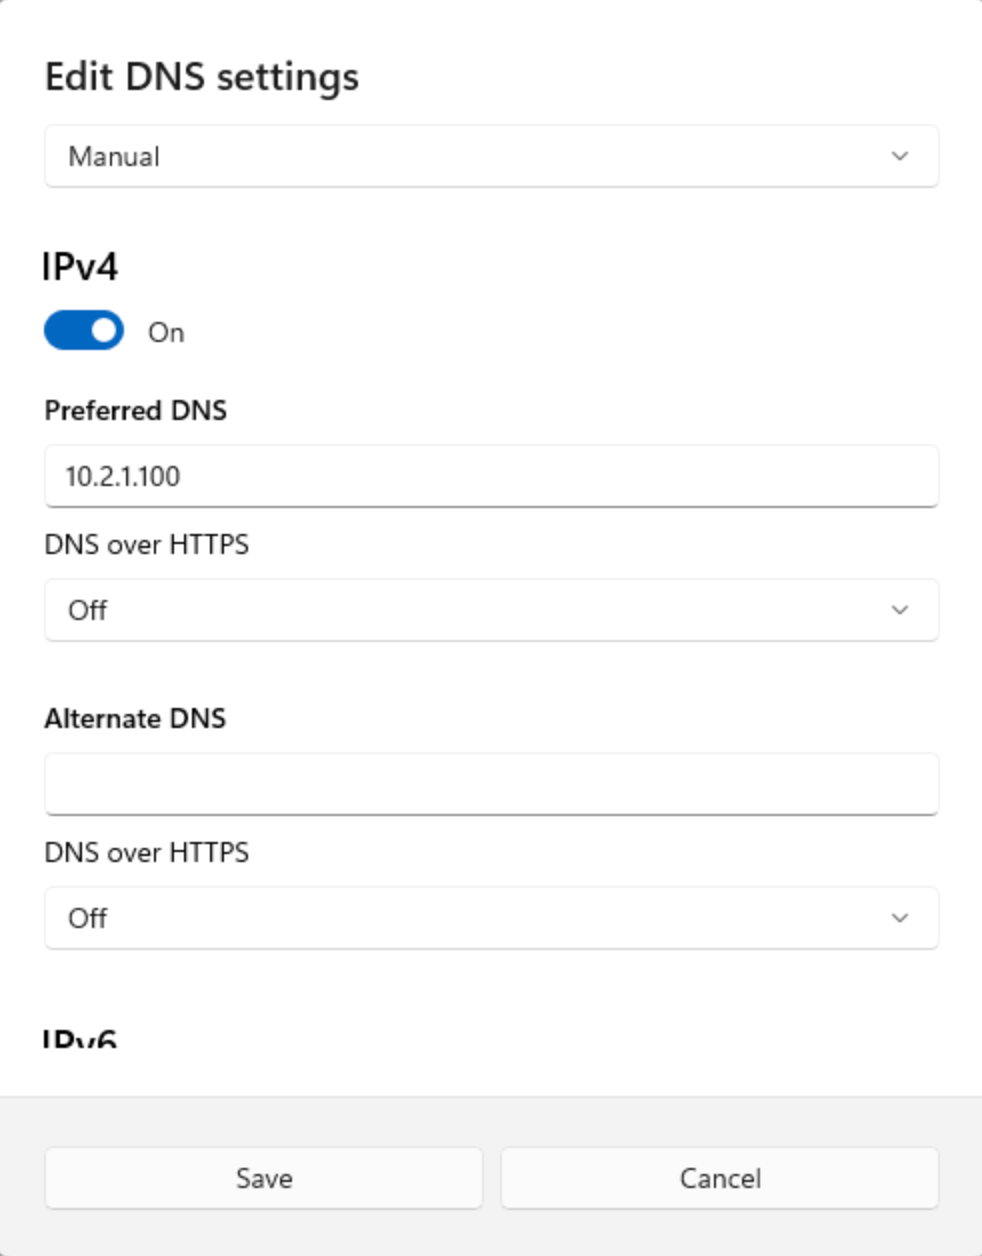
Network and InternetandEthernetin the settingsDNS server assignmentand enter the IP of the Domain Controller (make sure this IP is static)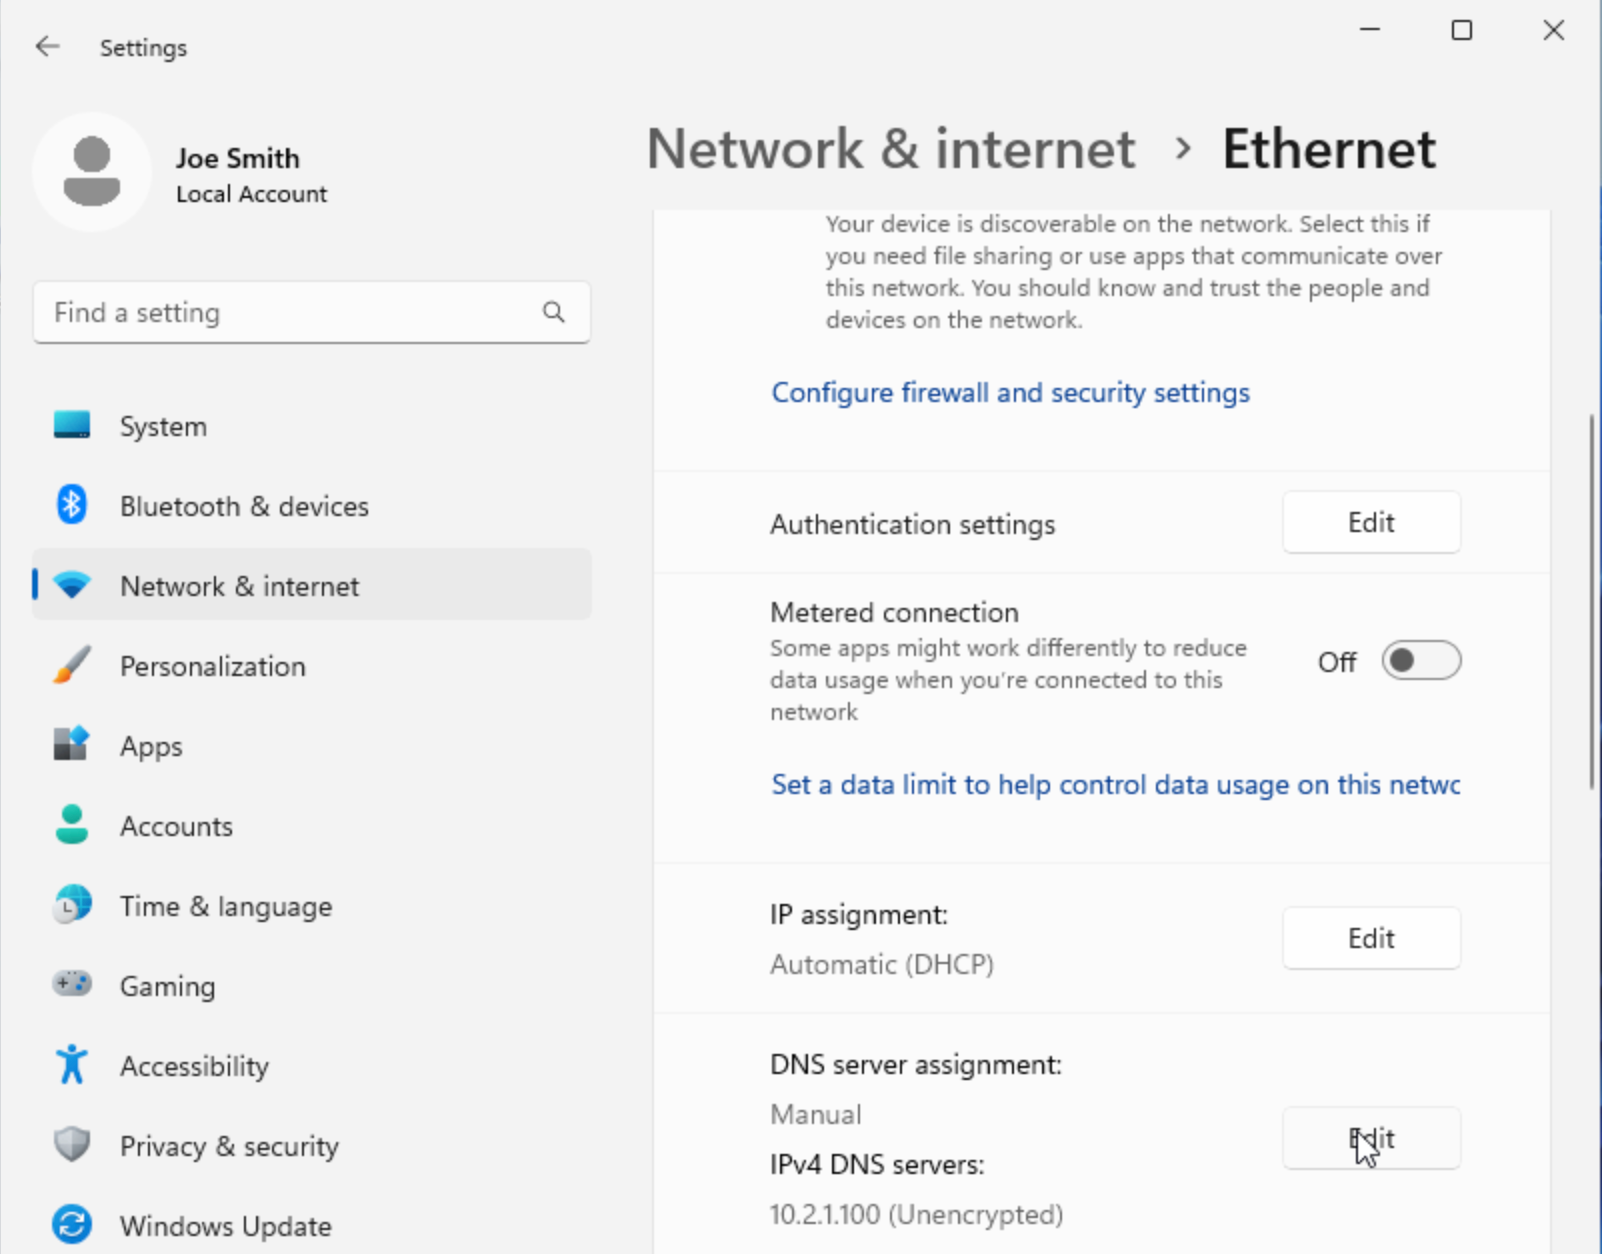
- To join the Client into the Domain, navigate to
Access work or school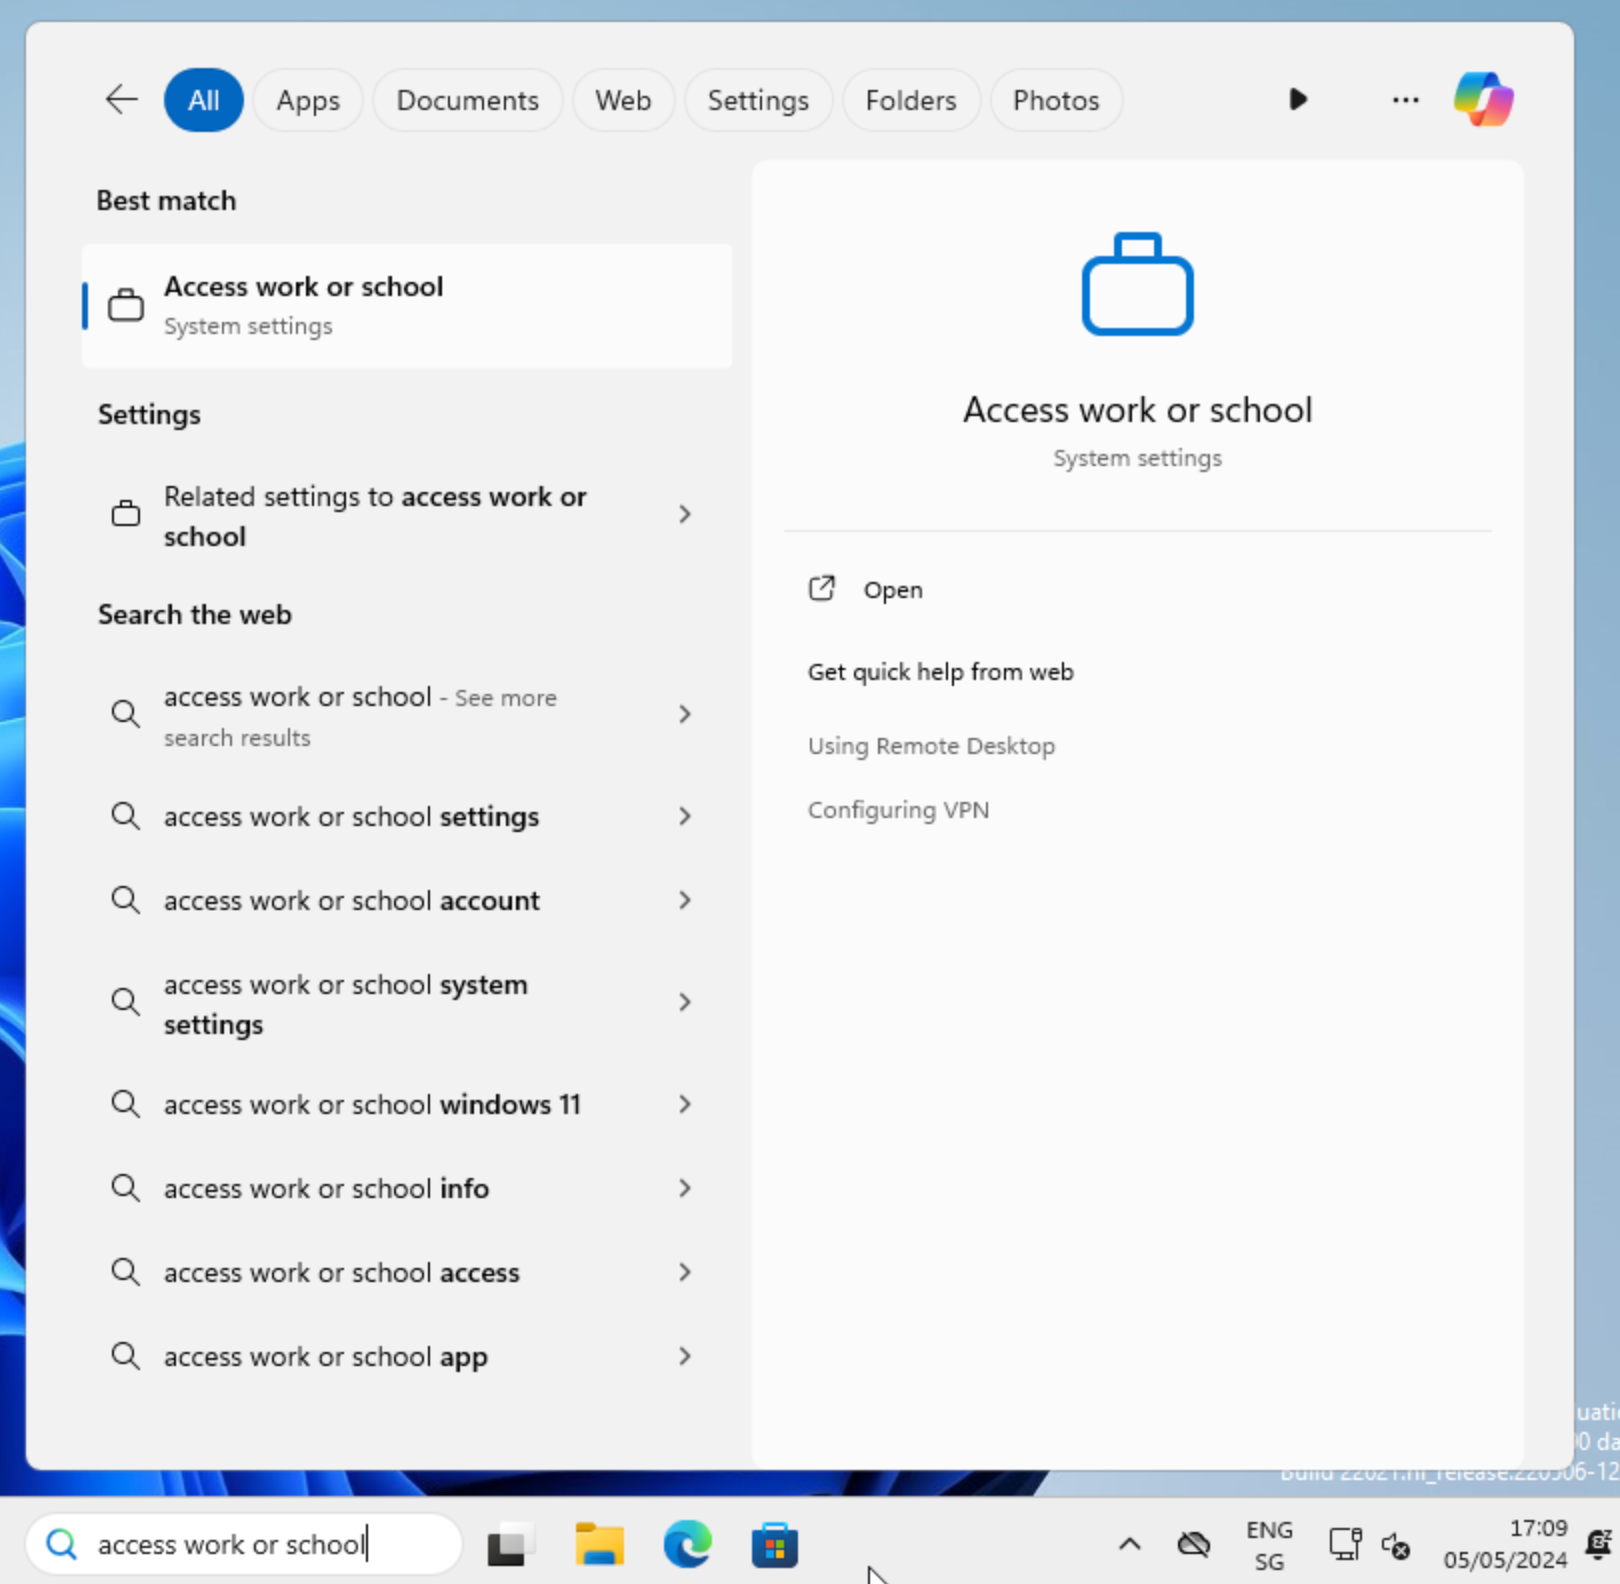
- Click
Connect - Select
Join this device to a local Active Directory domainand entertarget.local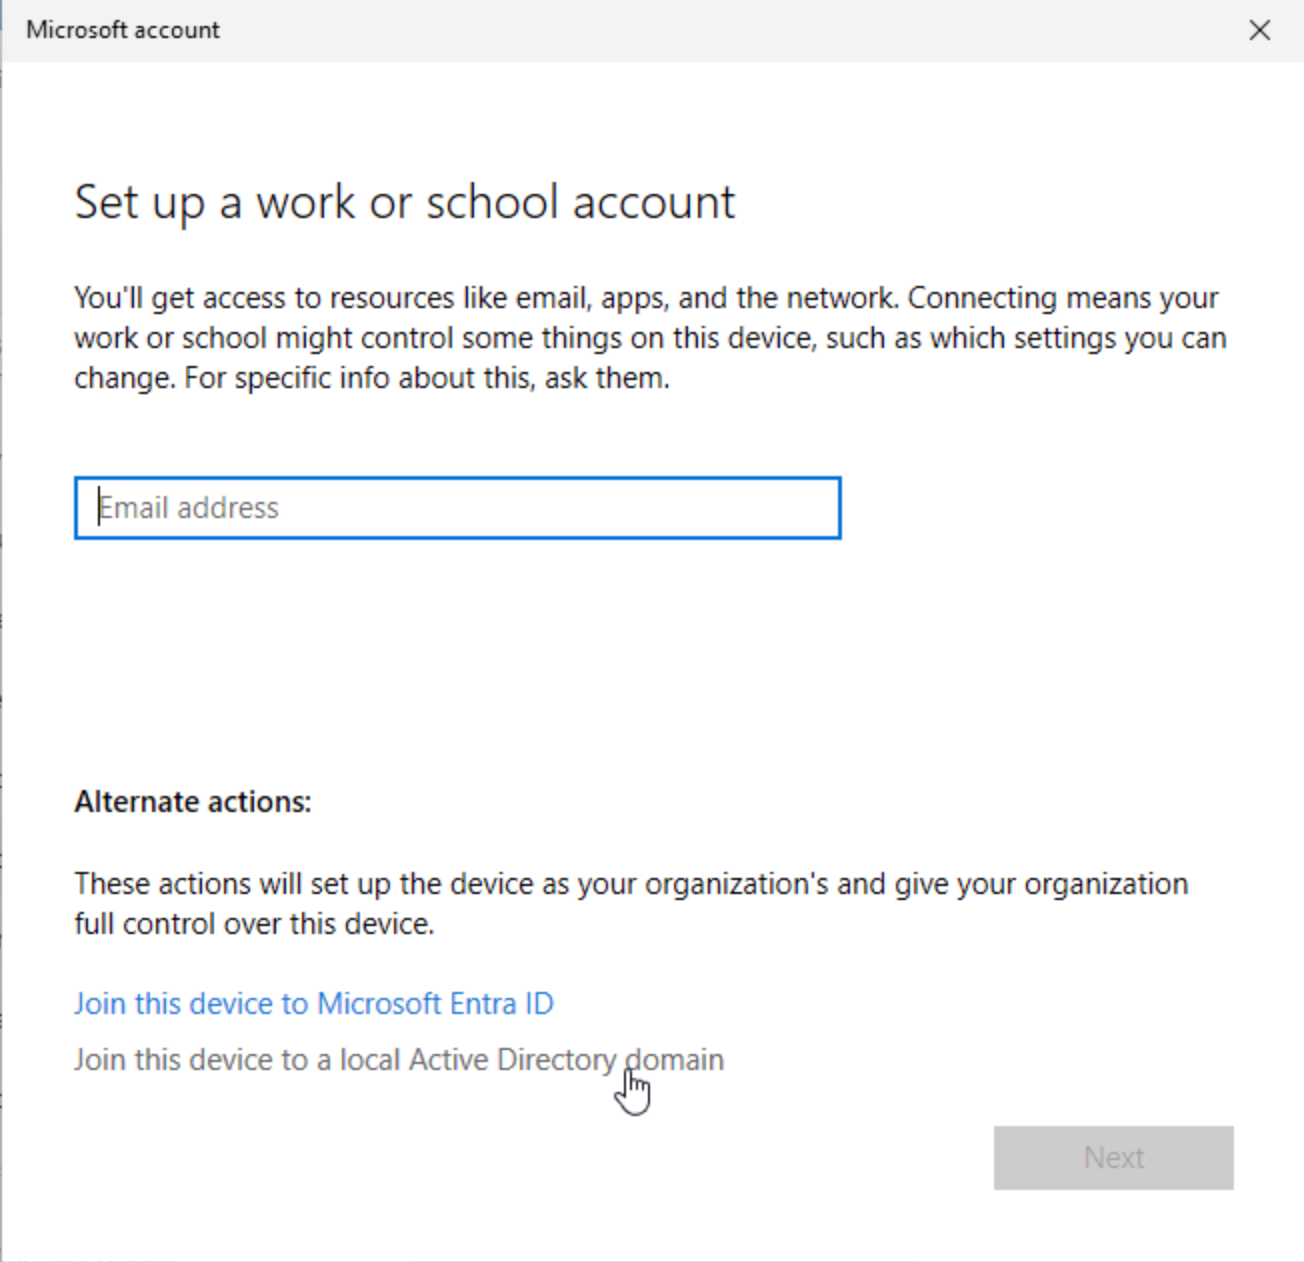
- Now we should be able to log into the previously created account:
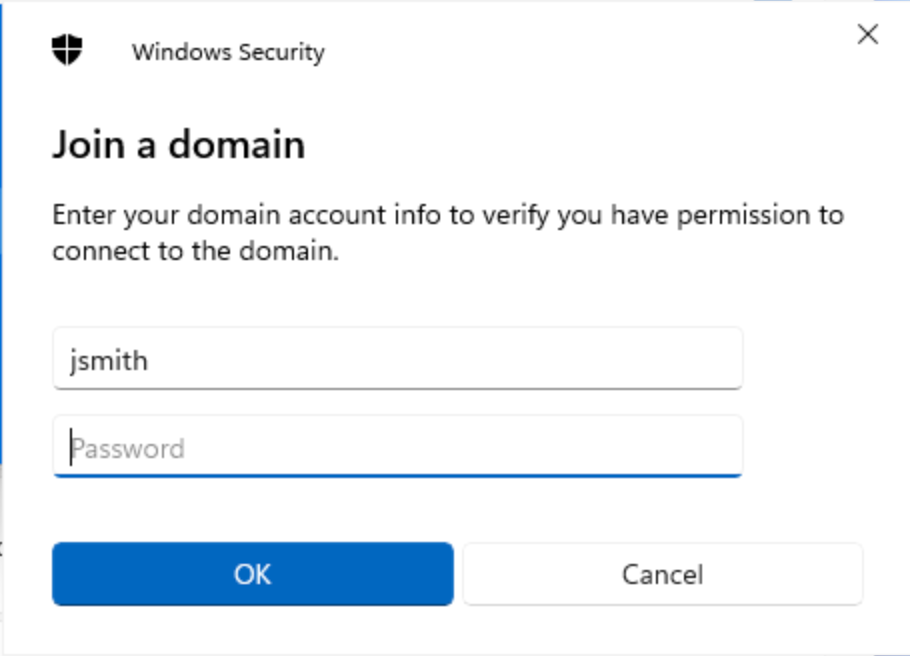
- Add the new user as a
Standard User - After a reboot you should now be able to sign in to the newly created user
Domain Controller 2
- Perform the steps from the previous Domain Controller up until step 12
Promote the Server to a Domain Controller - Under settings, go to
Network & Internetand selectChange adapter options:
- Set the preferred DNS to the IP of the first DNS:
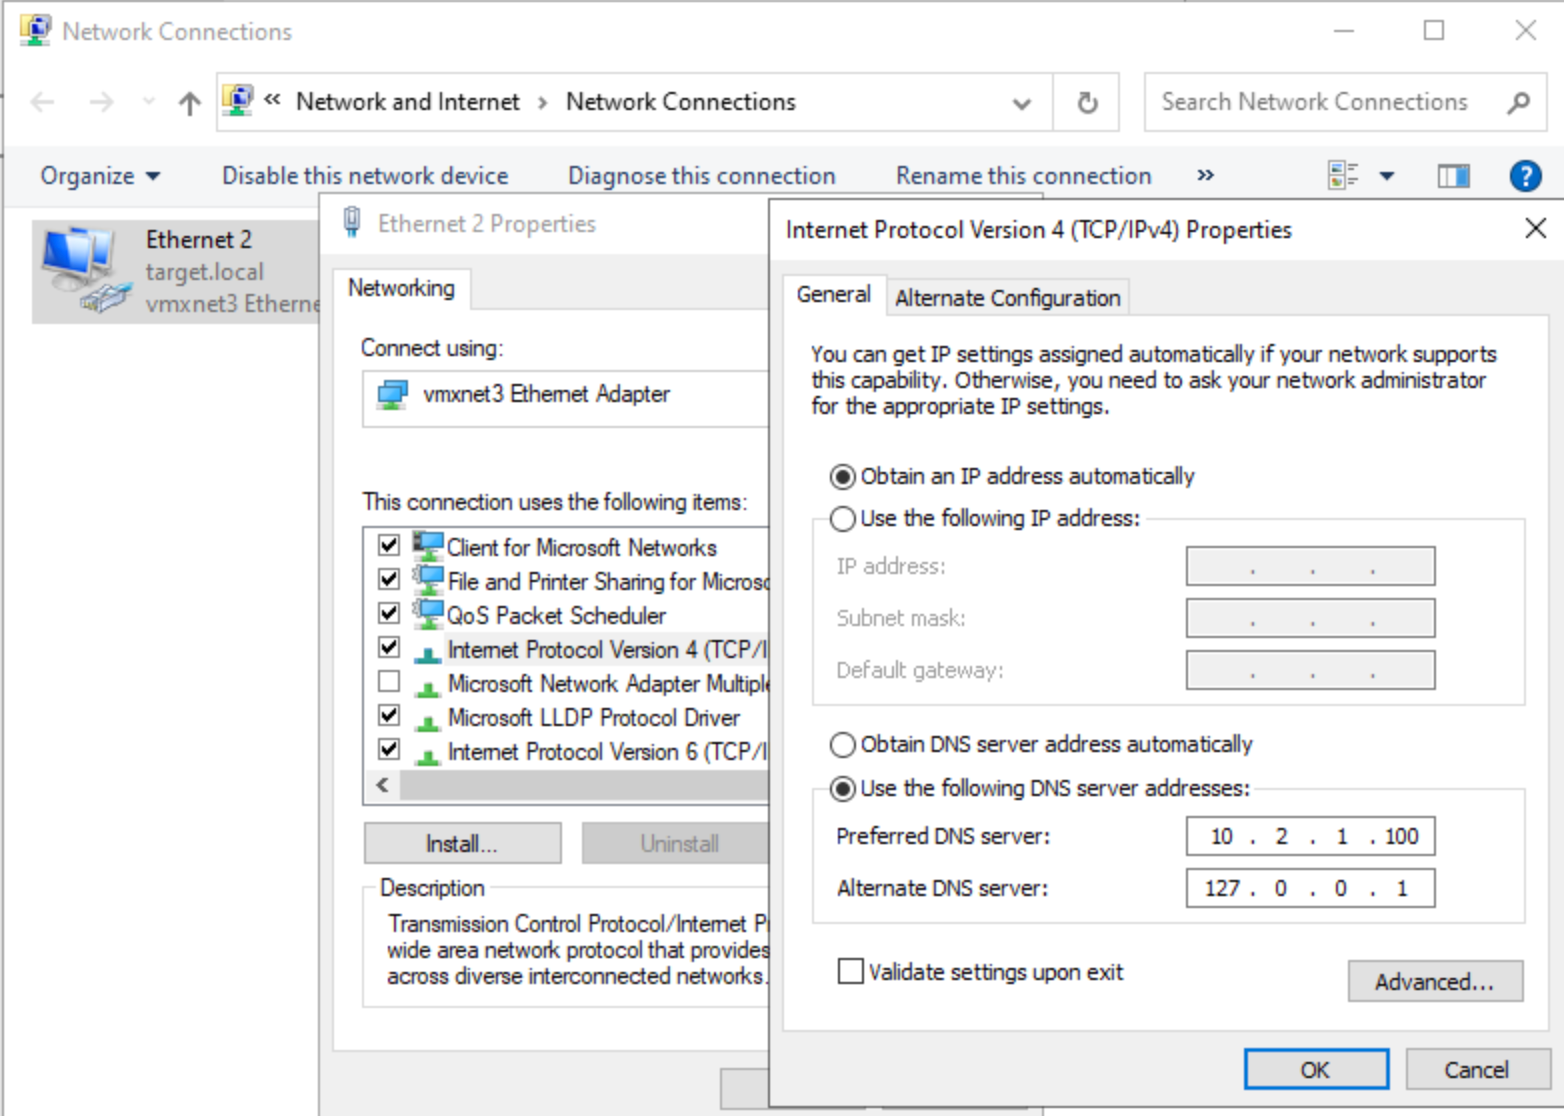
- Now that we’ve ensured connectivity, we can proceed by promoting the server to a Domain Controller, but this time we select
Add a domain controller to an existing domainand make sure it uses the Administrator user specified inTARGET.local\not the local one: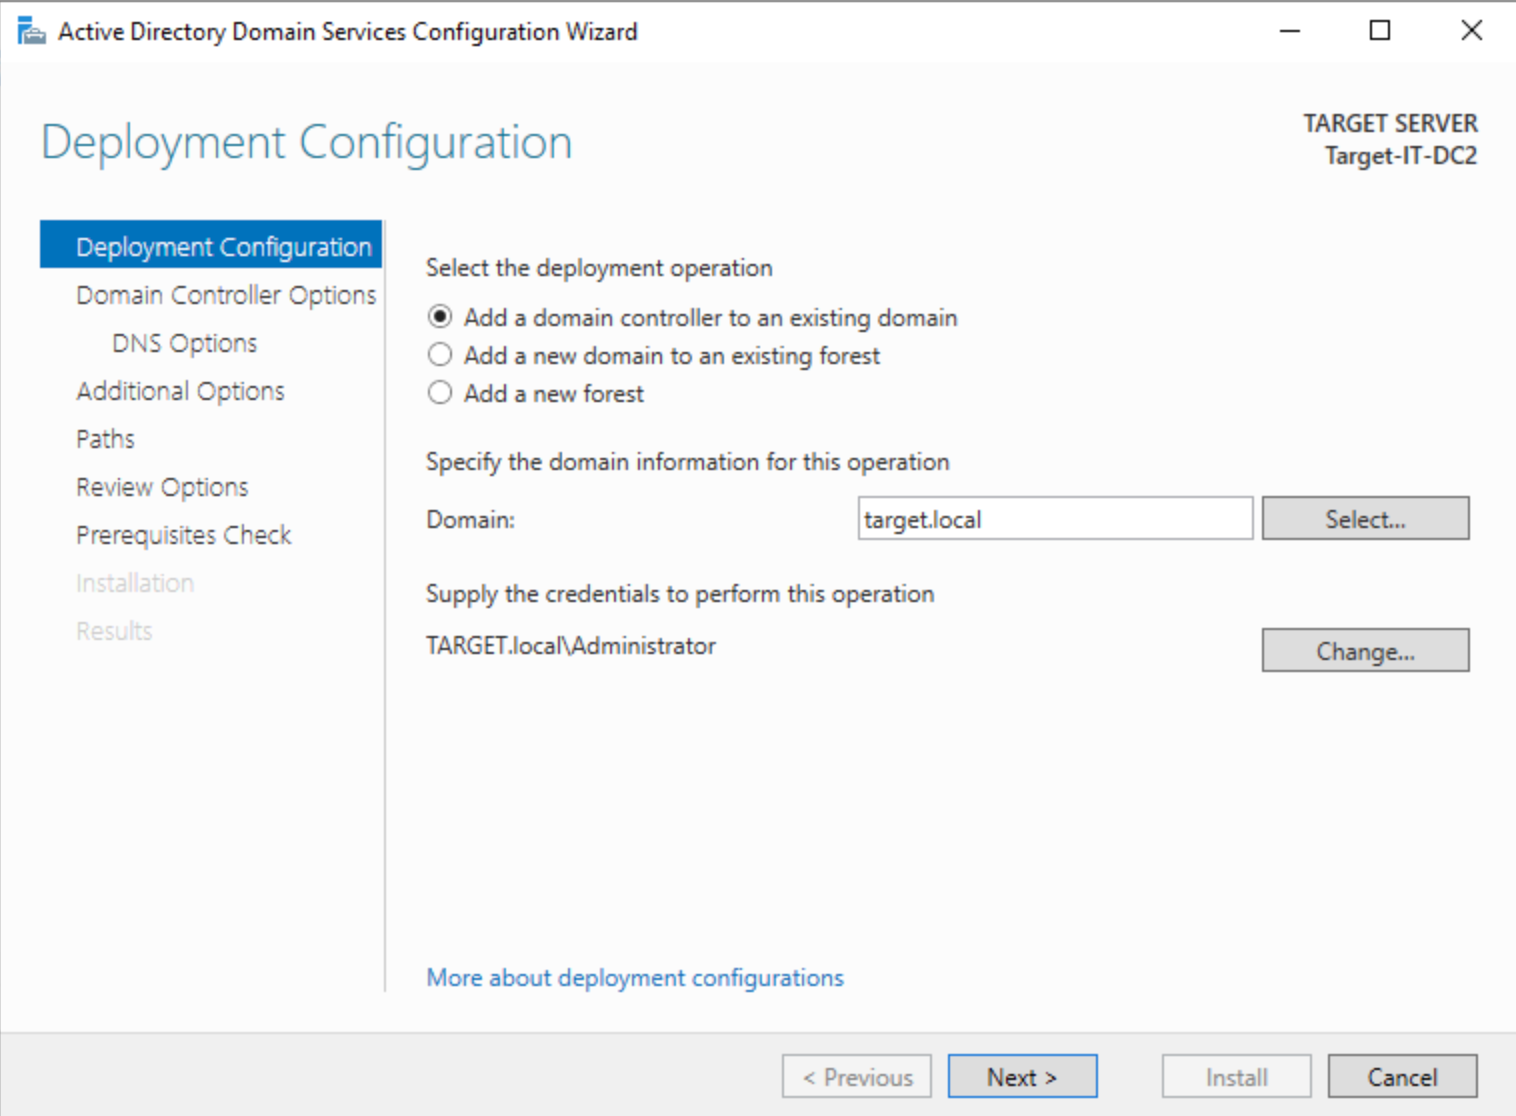
- Enter the DSRM password
- Specify the Domain Controller 1 as the one we want to replicate from:
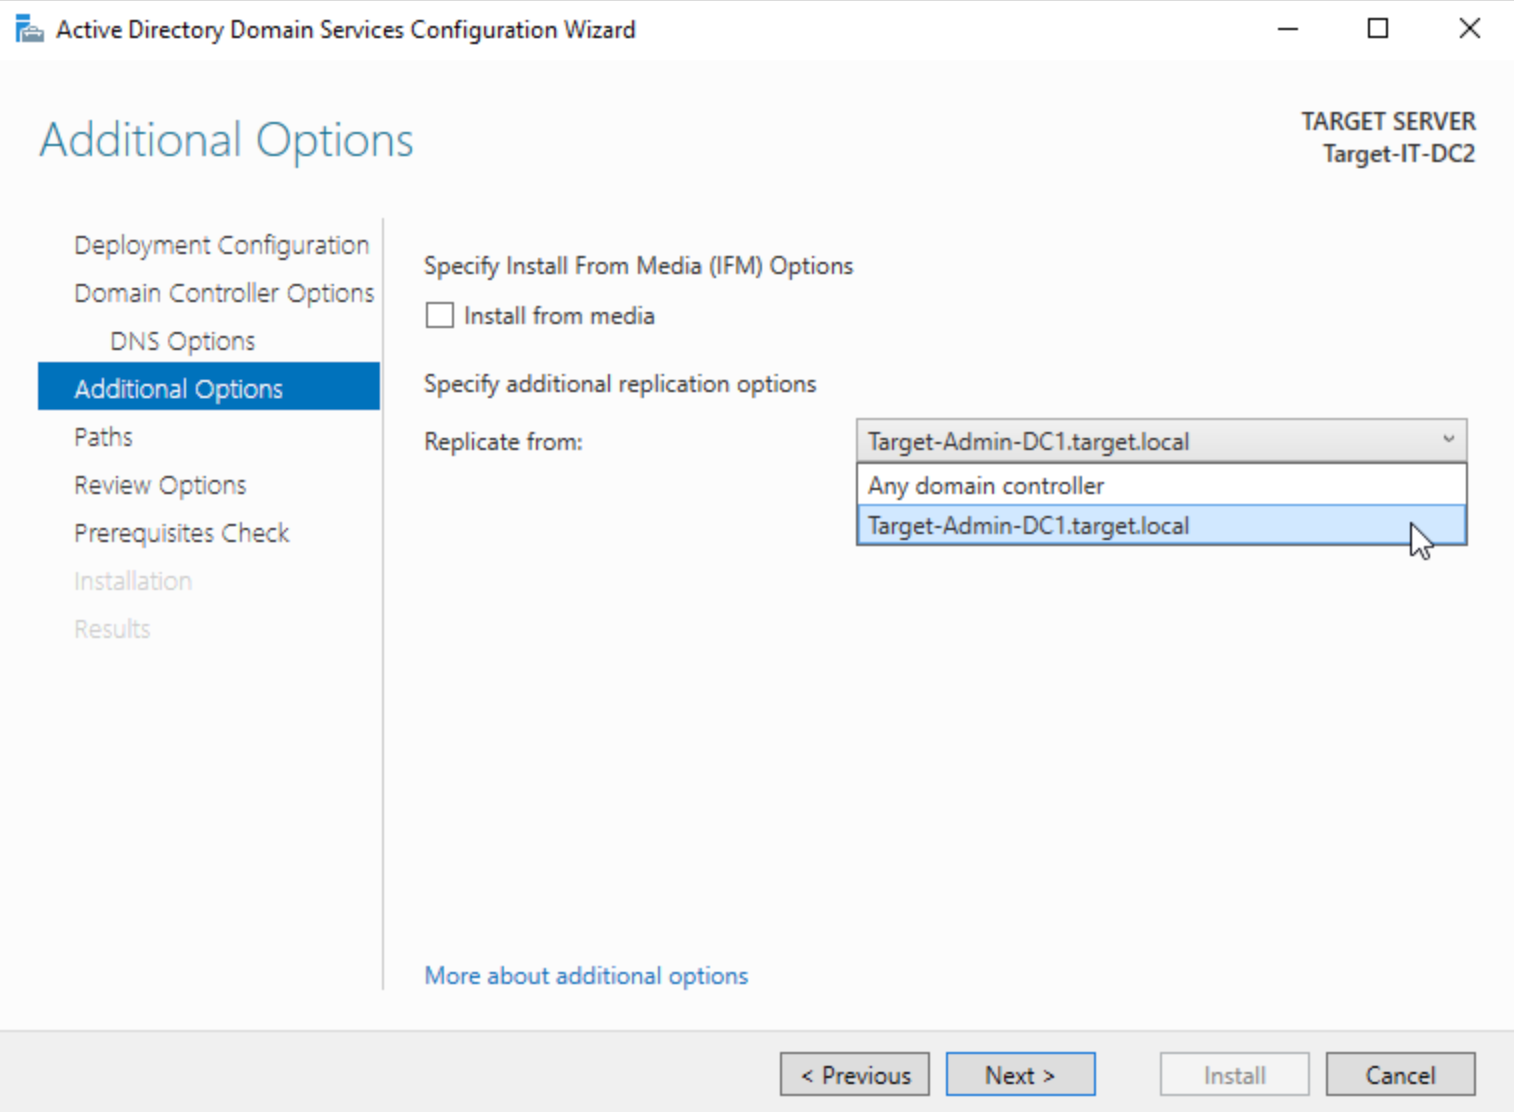
- Finish the Installation
- Now go back to Domain Controller 1 and change it’s preferred DNS to the static IP of the second Domain Controller:

Resources to Elaborate on This Simple Setup
Relevant Note(s):