Riser Effect
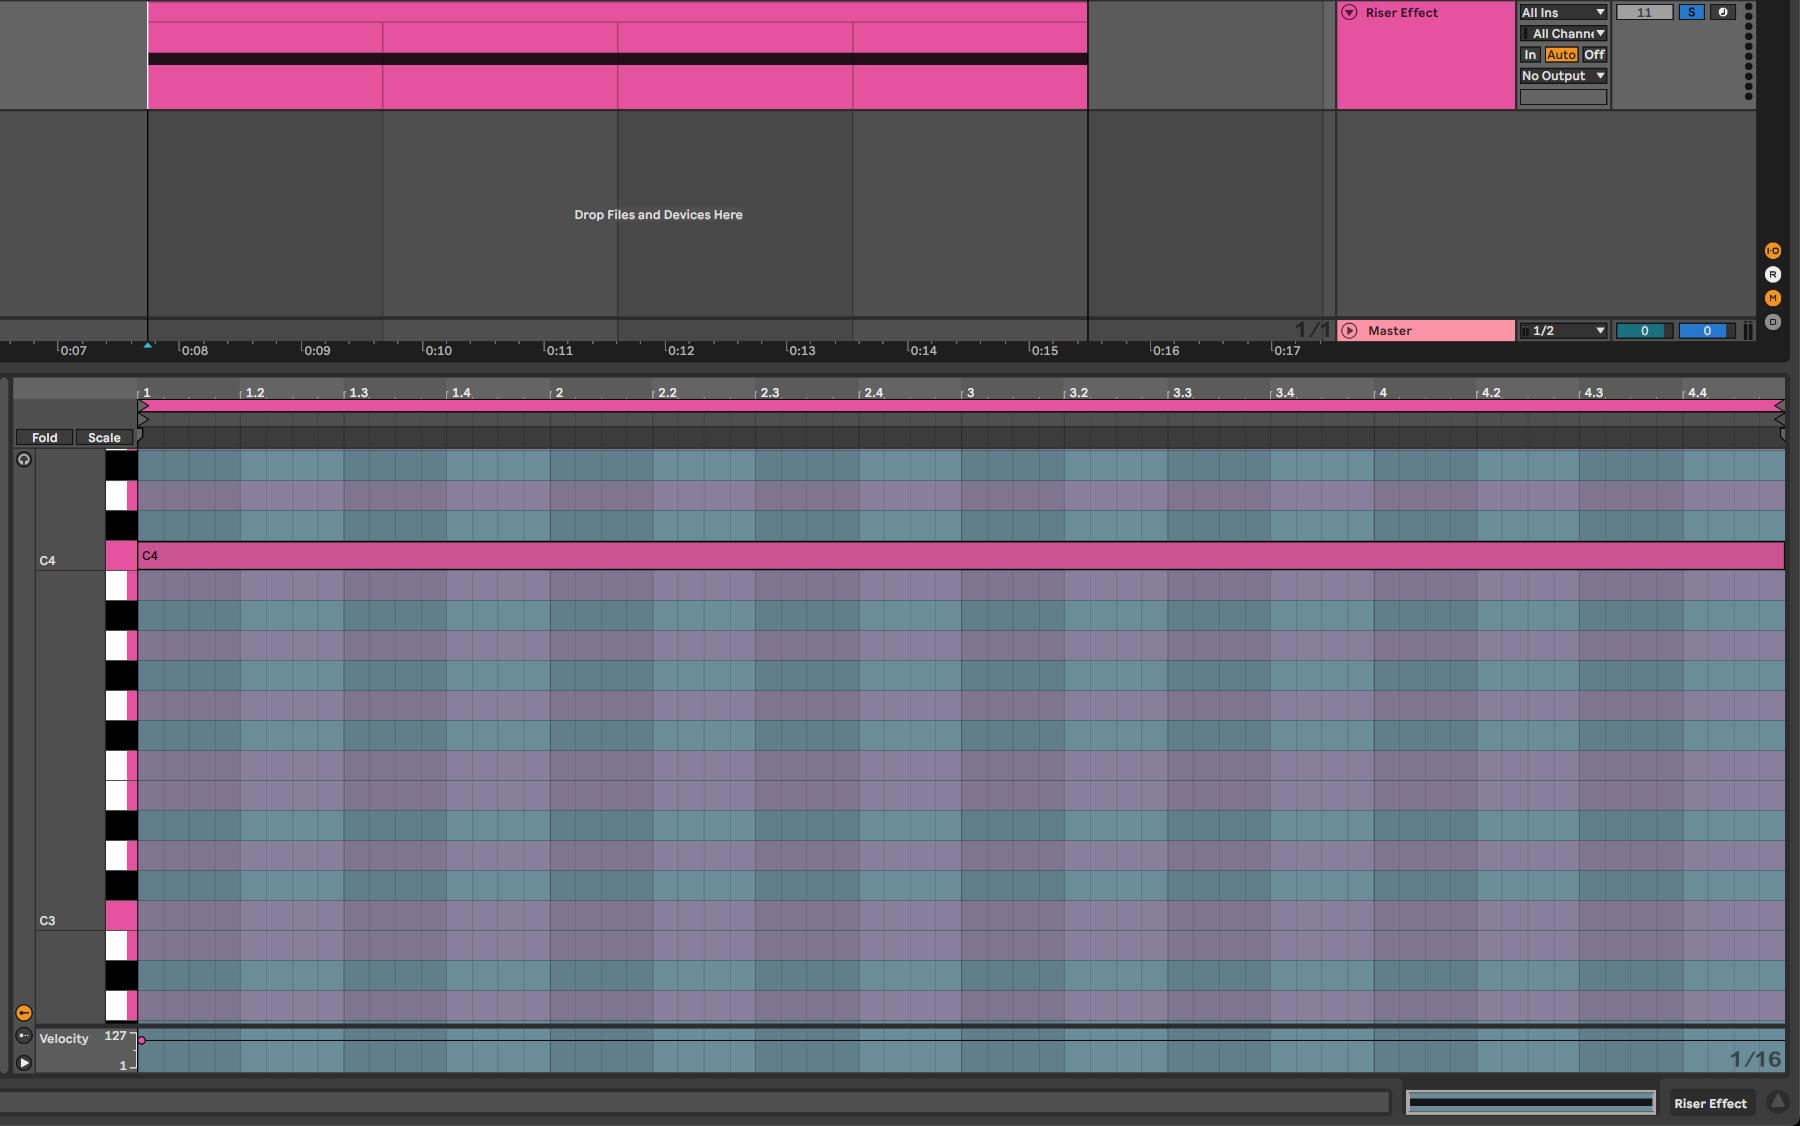
To add a little tension and release, you can choose to add your own little riser to your loop. Do this by first creating a new MIDI Track and Clip with one long note:
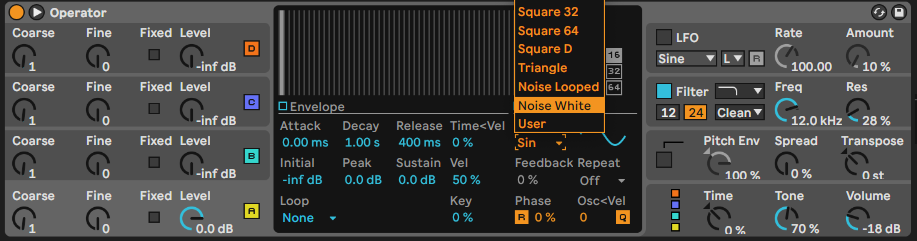
Now we're going to use a new instrument, a synth, called the "Operator" with white noise select as the wave:
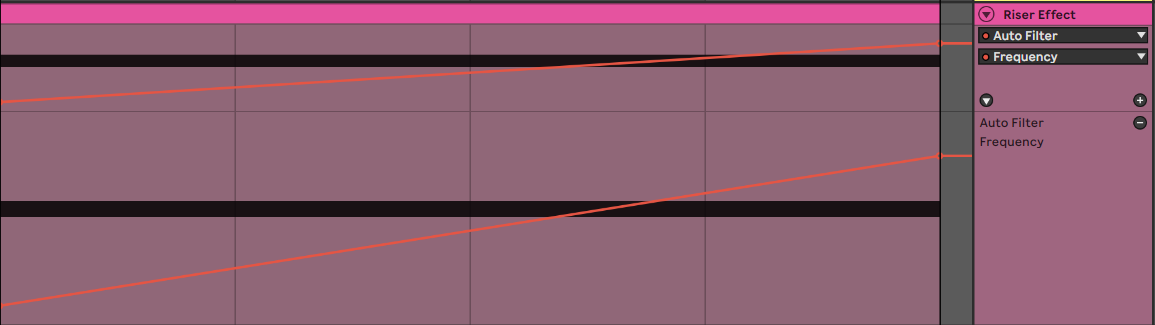
Now that we have some sound, we're going to add a bandpass filter and automate the frequency in a new lane:

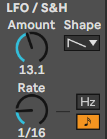
It can sound pretty cool if you play around with the filter's Amount, Rate, and Shape:
To make it sound a bit bigger, we're going to add a very wet reverb with some decay:
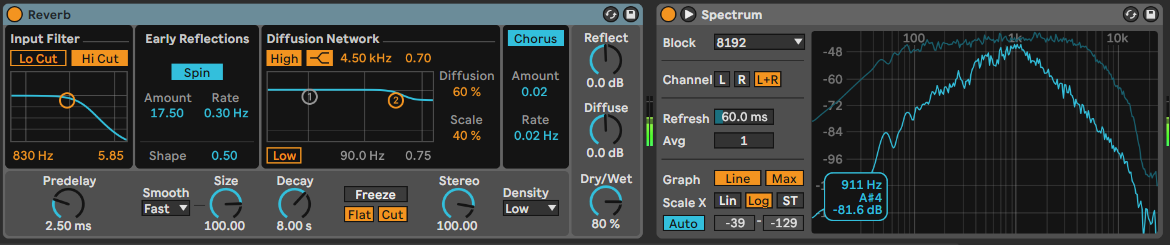
Now if we see our sound in the spectrum analyser there are a lot of unnecessary low-end frequencies, which we're going to clean up using an equalizer:

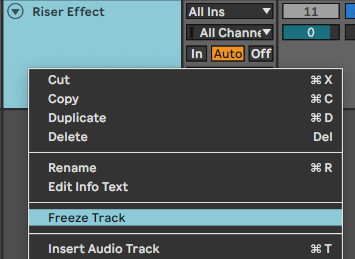
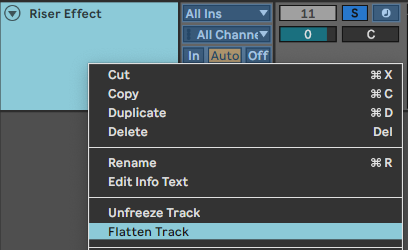
Now all that's left to do is freeze and flatten the track to get a audio clip we can reuse anywhere (also other compositions):
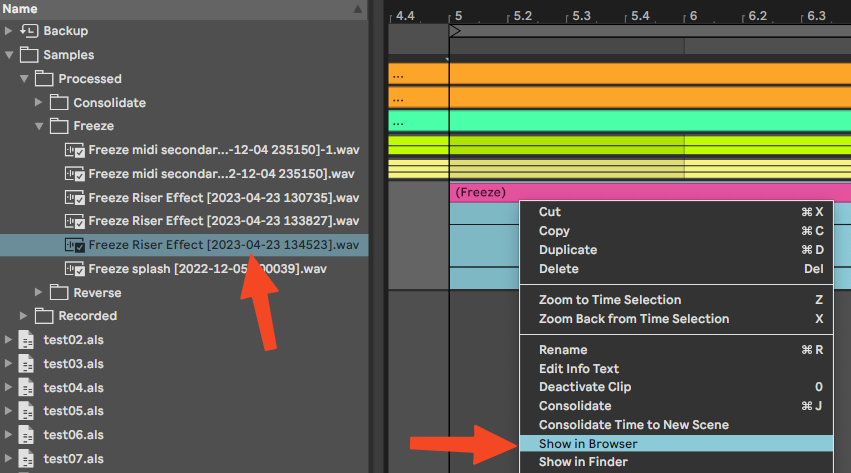
Ableton will try to help us by split the output into 4 bar loop, and it's tail:

This is unnecessary for us, so we're just going to delete the tail and drag the normal frozen track out:

Now when we want to use this riser again in some other composition, we can just reuse this wav file:
Relevant Note(s):